You have a Virtual Assistant (VA) in THE PhilIppines, & you want the calls to be done in the USA for Appointment Bookings. Calley has you covered 🙂
Calley now integrates with VoIP providers like Twilio so that you can call internationally and reach out to even more leads overseas.
The setup of Calley Autodialer with Twilio VoIP APIs is simple. All you need to do is follow a step-by-step process to configure it once.
This is a great tool that comes in handy for businesses that call overseas for lead generation, appointment booking or any other outbound dialling process. All you need for this is.
Let us help you get started with VoIP Auto Dialing.
For this article, we are using a Calley PRO Single User plan to demonstrate the maximum capabilities of the Calley VOIP Auto dialing Solution.
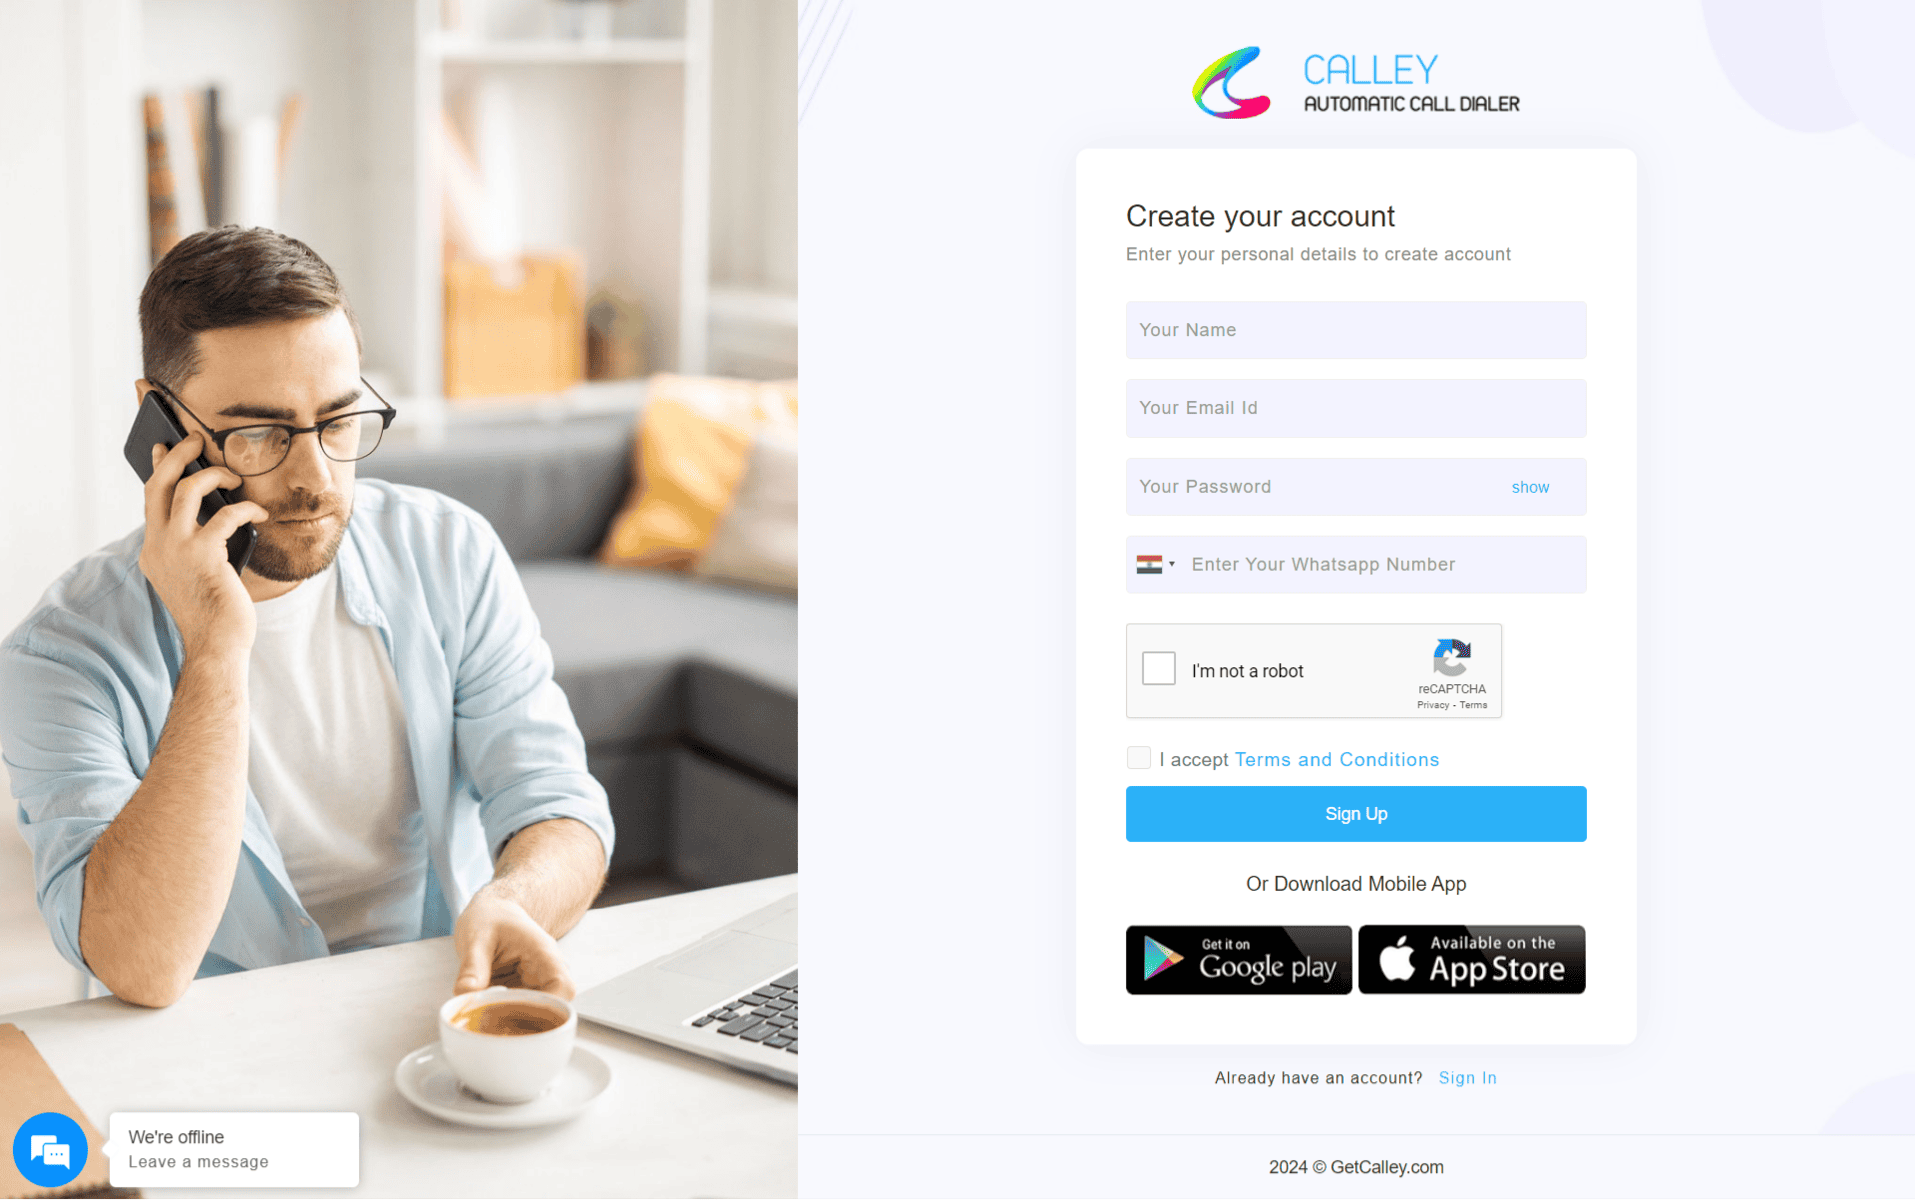
Signup for a Calley Account
If you already have a Calley account, you can log in at https://app.getcalley.com, and if you are a new user, you can register at https://app.getcalley.com/registration.aspx.
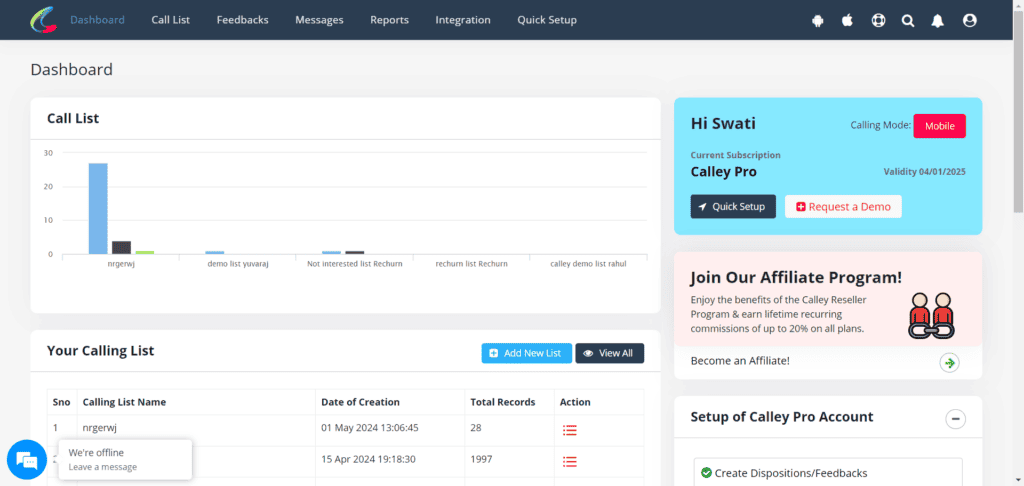
Go to Dashboard & Configure
Once you have registered or logged in you reach to the dashboard from where you can configure the following.
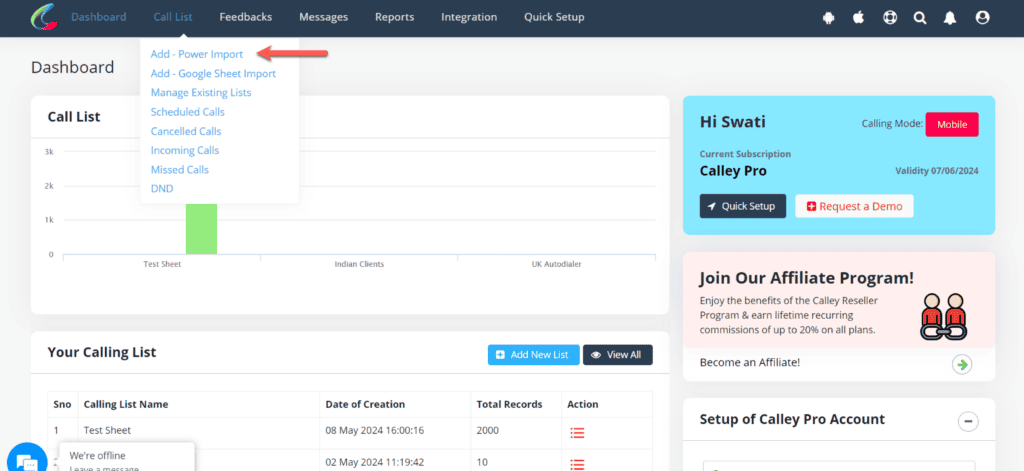
Create a Calling List
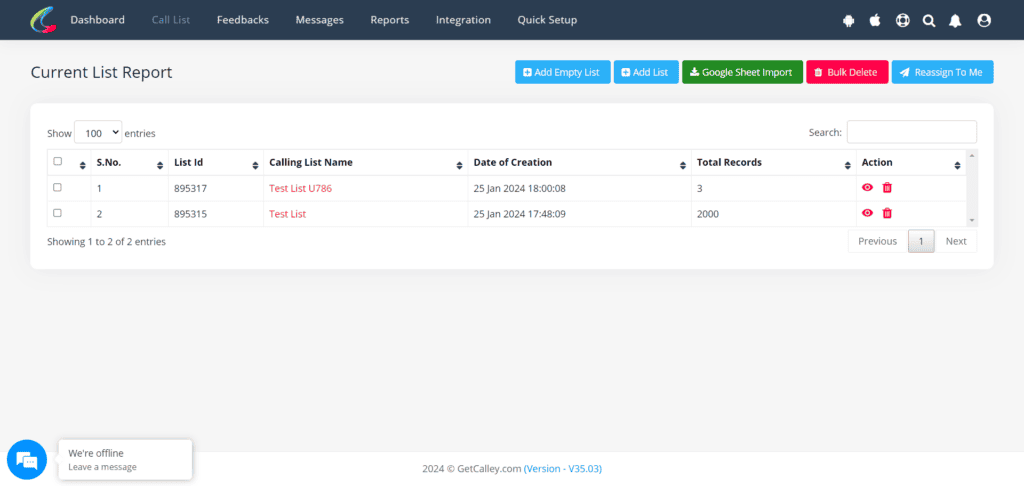
Creating a calling list is mandatory; this is the collection of leads on which you or an agent of your team will make outbound calls. You can import them thru...
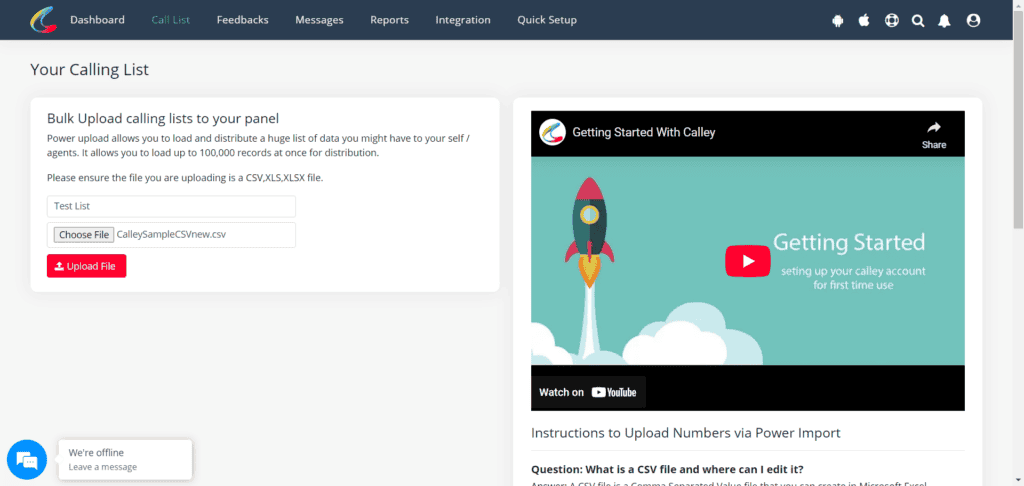
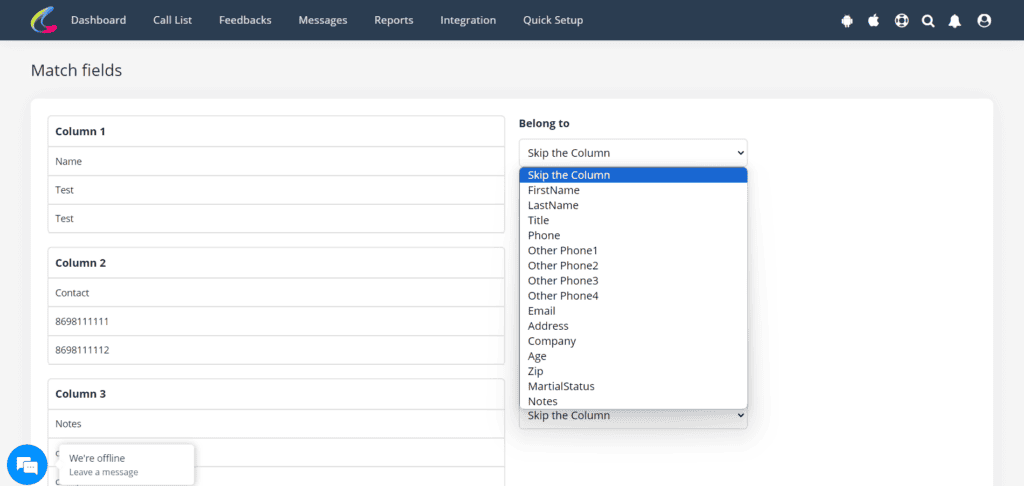
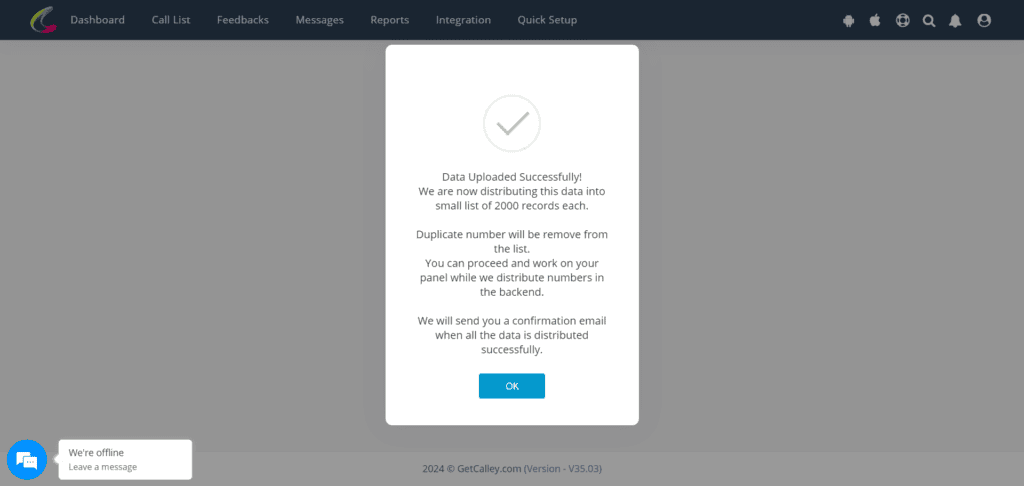
Do a Power Import of Leads
Provide a new list name and select the sheet (xls, xlsx, csv file) that you want to upload to the panel.
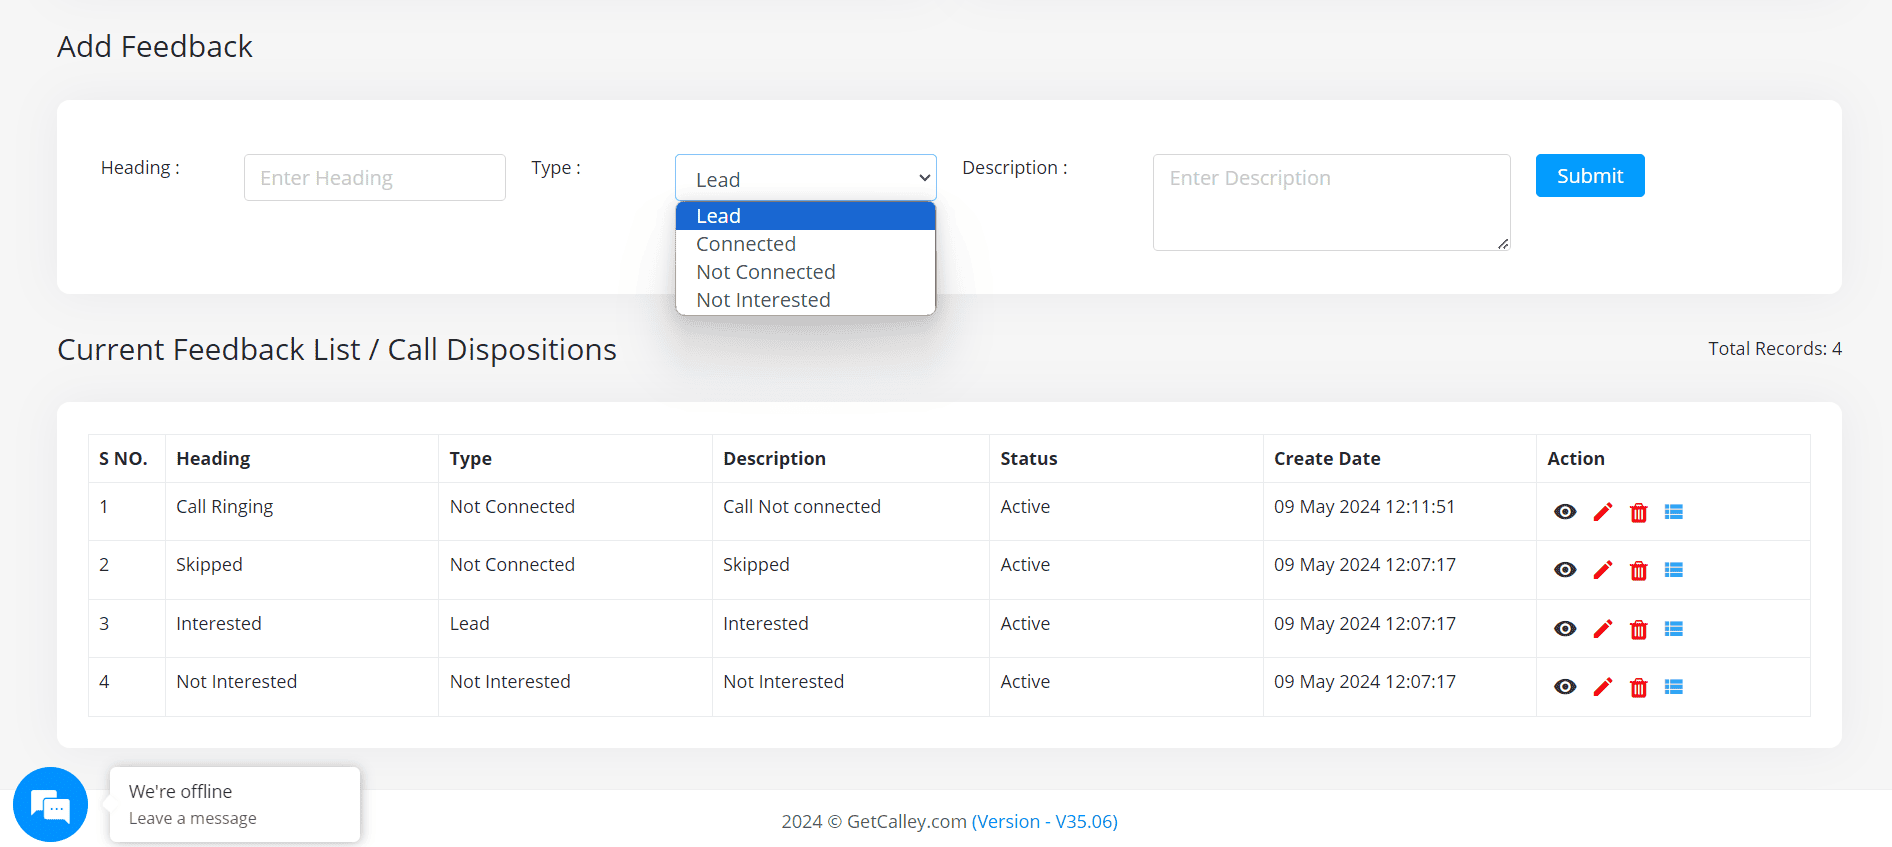
Create Call Feedback or Dispositions
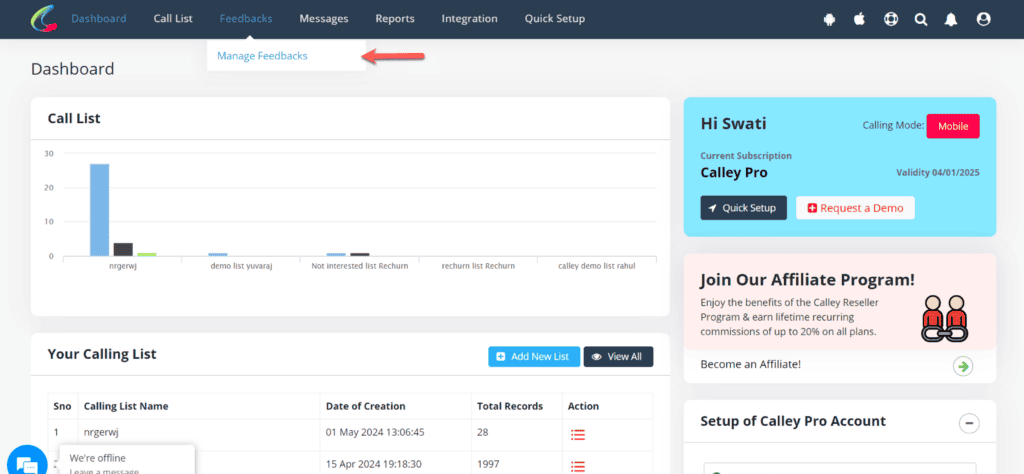
Once the list is uploaded, head to the creation of Call Dispositions. You can create unlimited dispositions but they are categorized in to 4 major types.
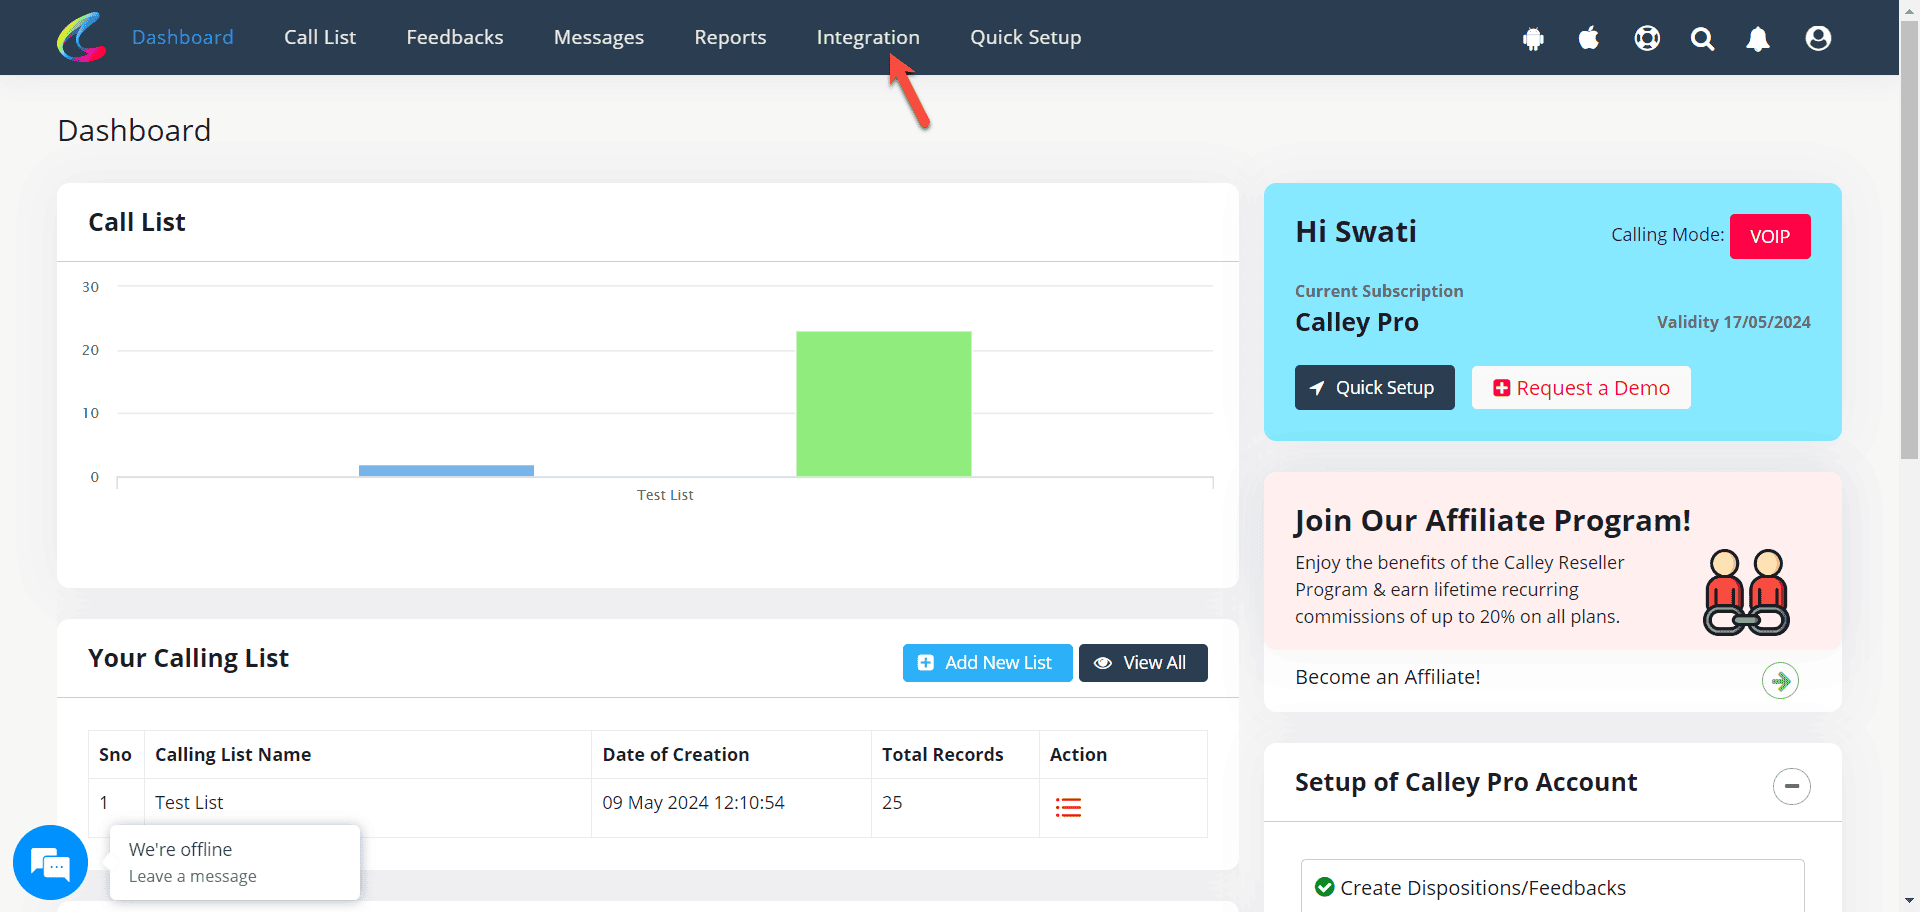
Go to integrations & enable Twilio VOIP
Once you have created the Calling List now, you need to head to the Integration Center to enable Twilio VOIP settings.
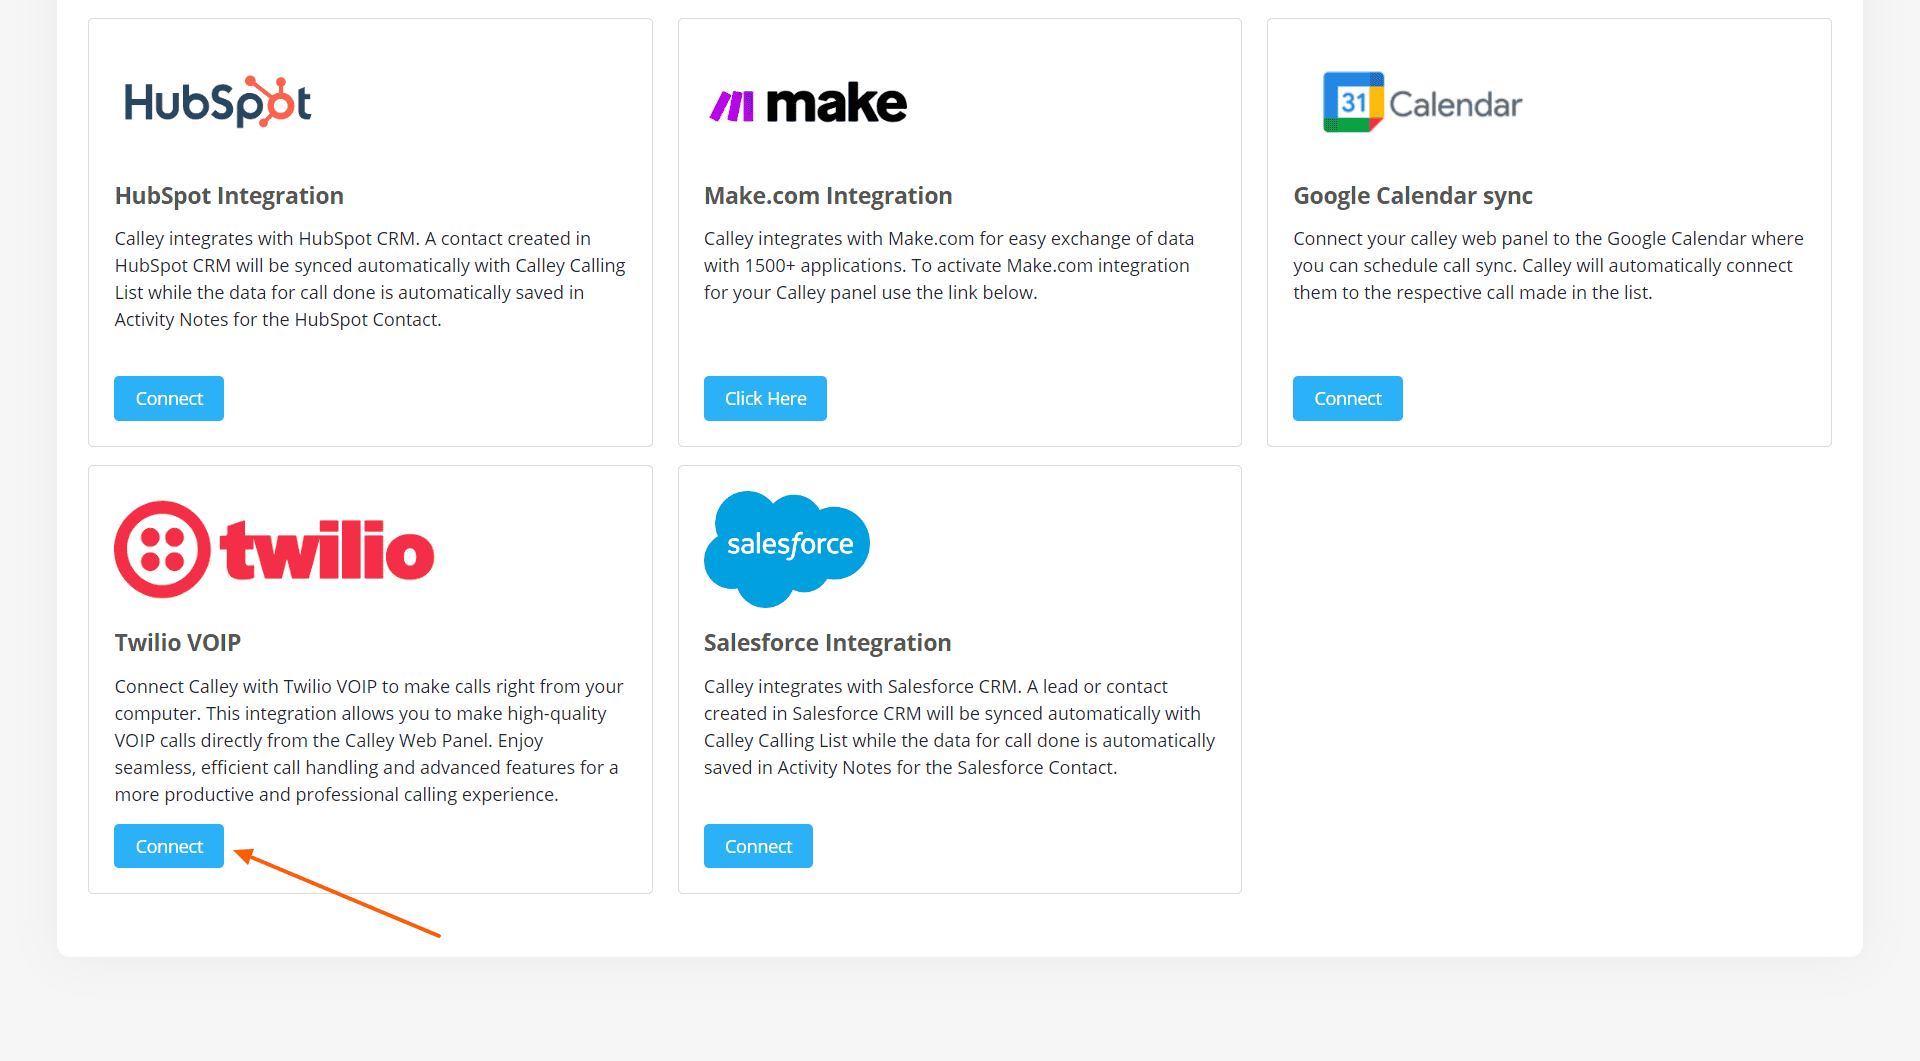
Setup Twilio with information from Twilio Account
You can check out the video below for the details you need to fetch from the Twilio account that needs to be filled into the Calley Auto Dialer Panel.
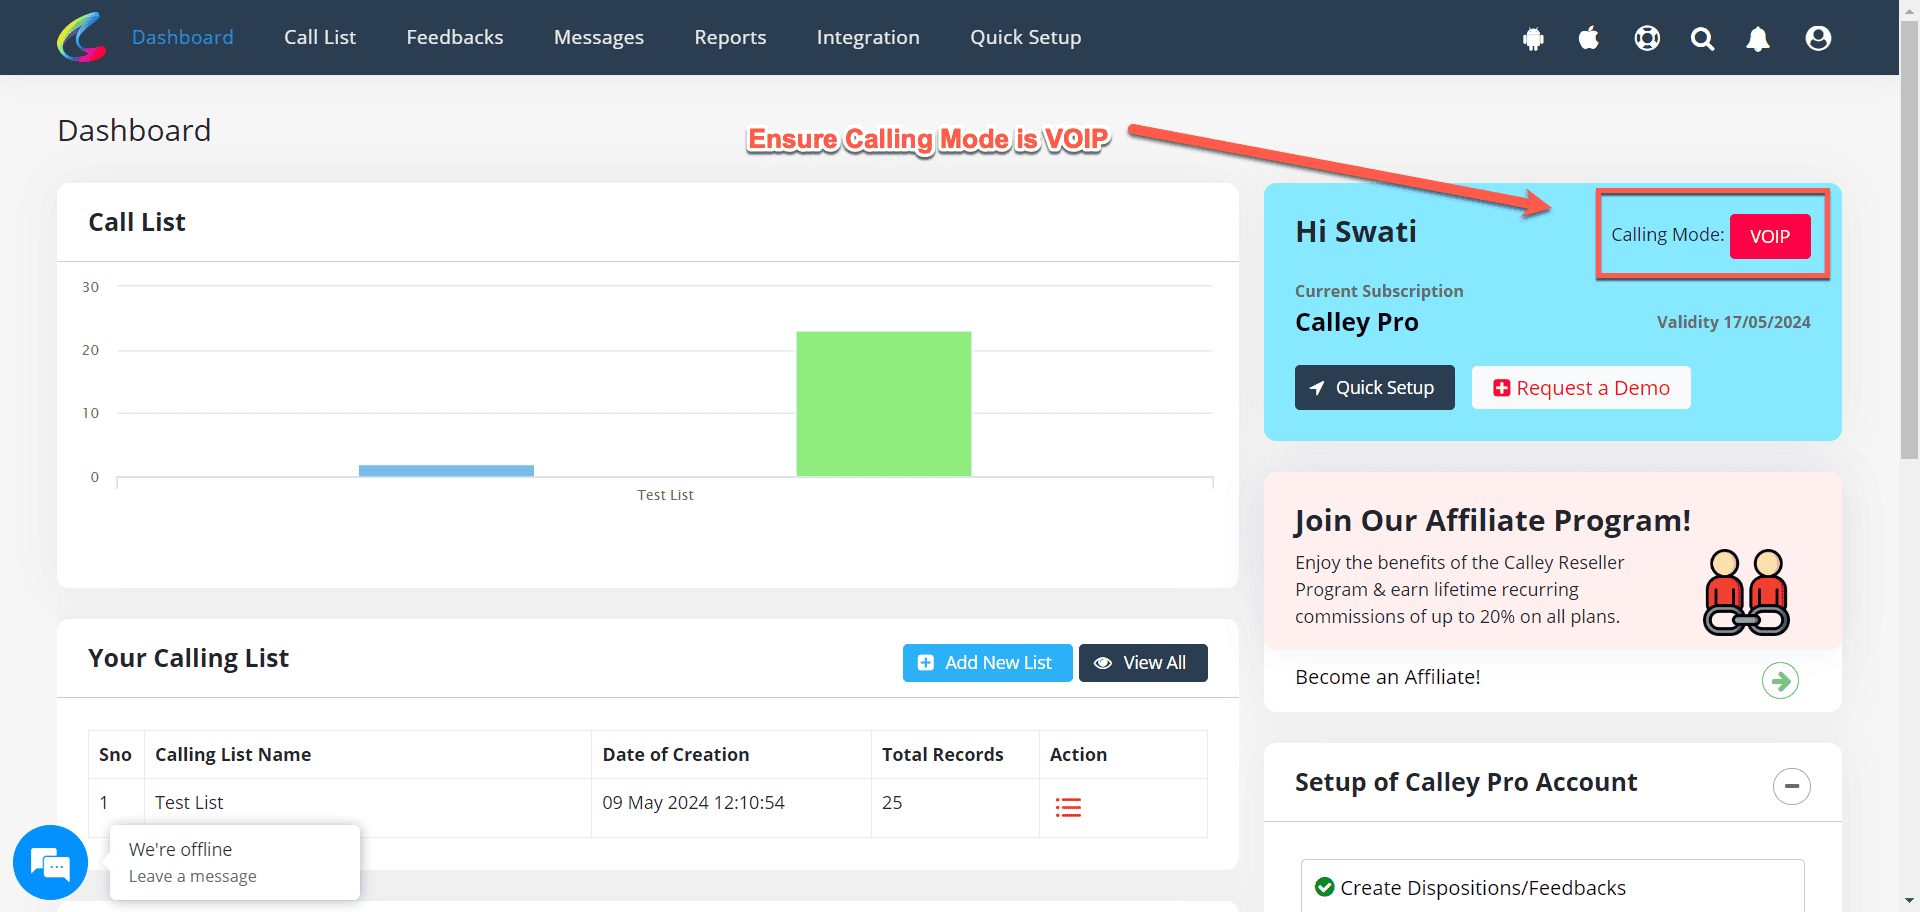
Go to the Calling List you wish to auto-call in the Web Panel
Once the configuration is done and you have enabled the calling mode on the dashboard as "VOIP," you need to head to the calling list where you want to make the calls.
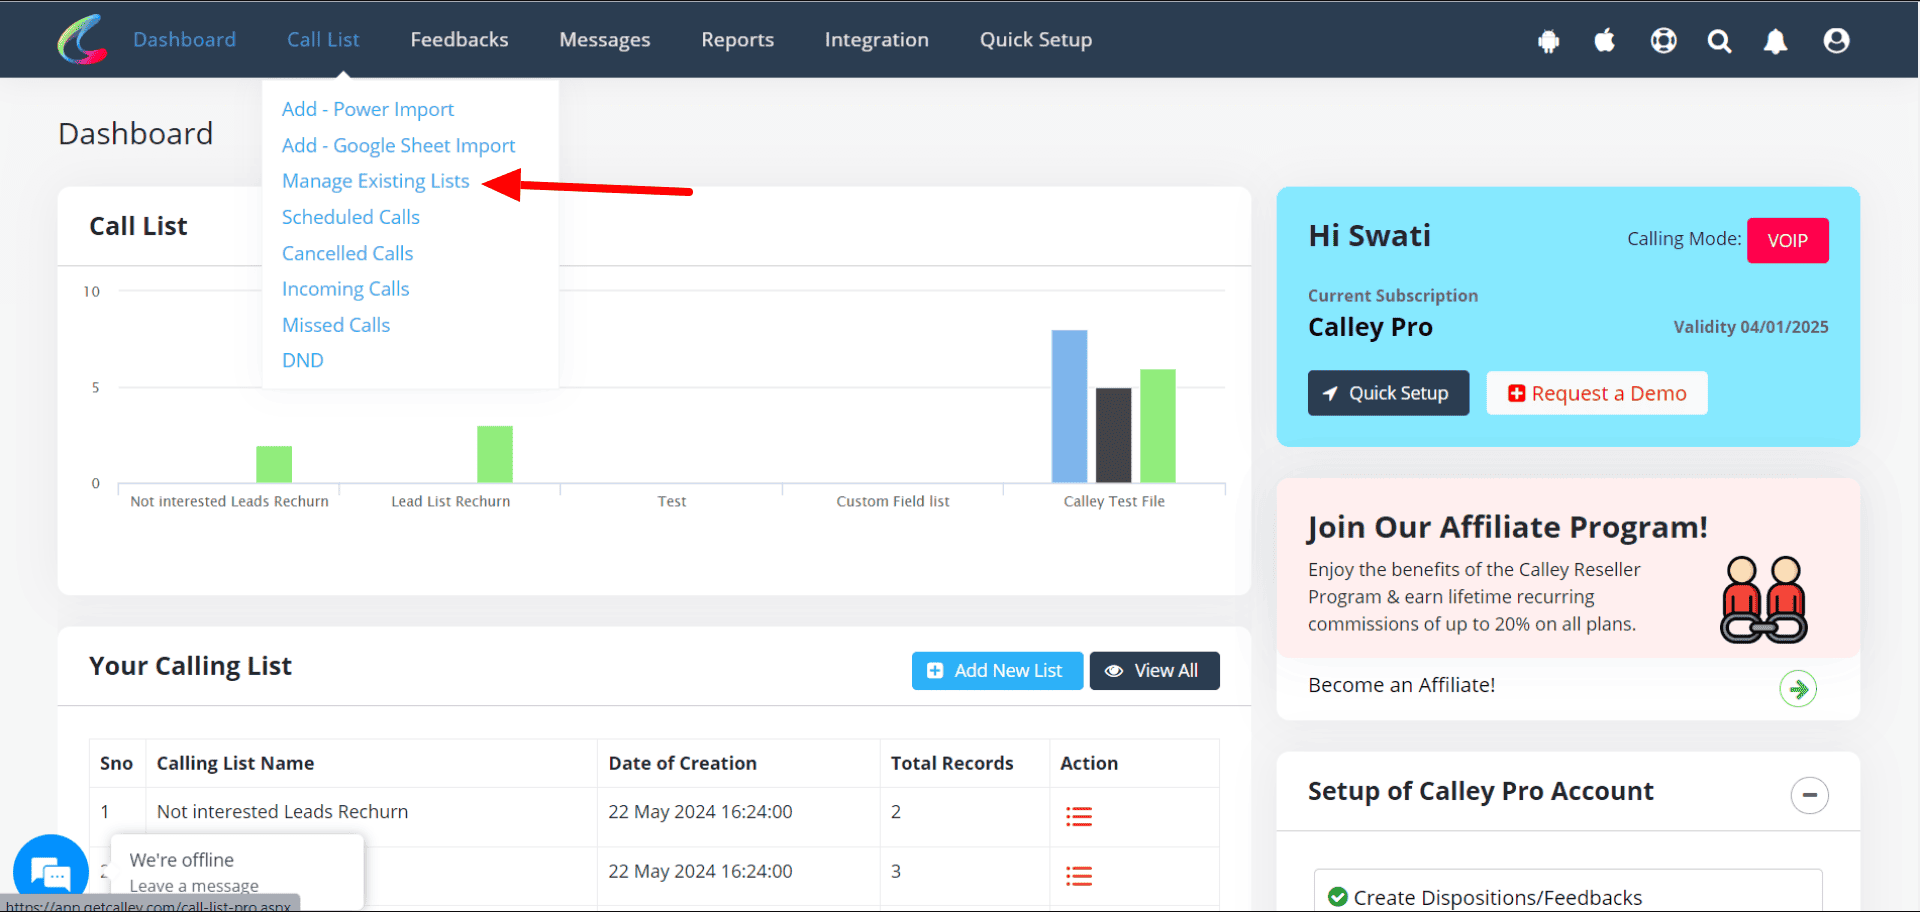
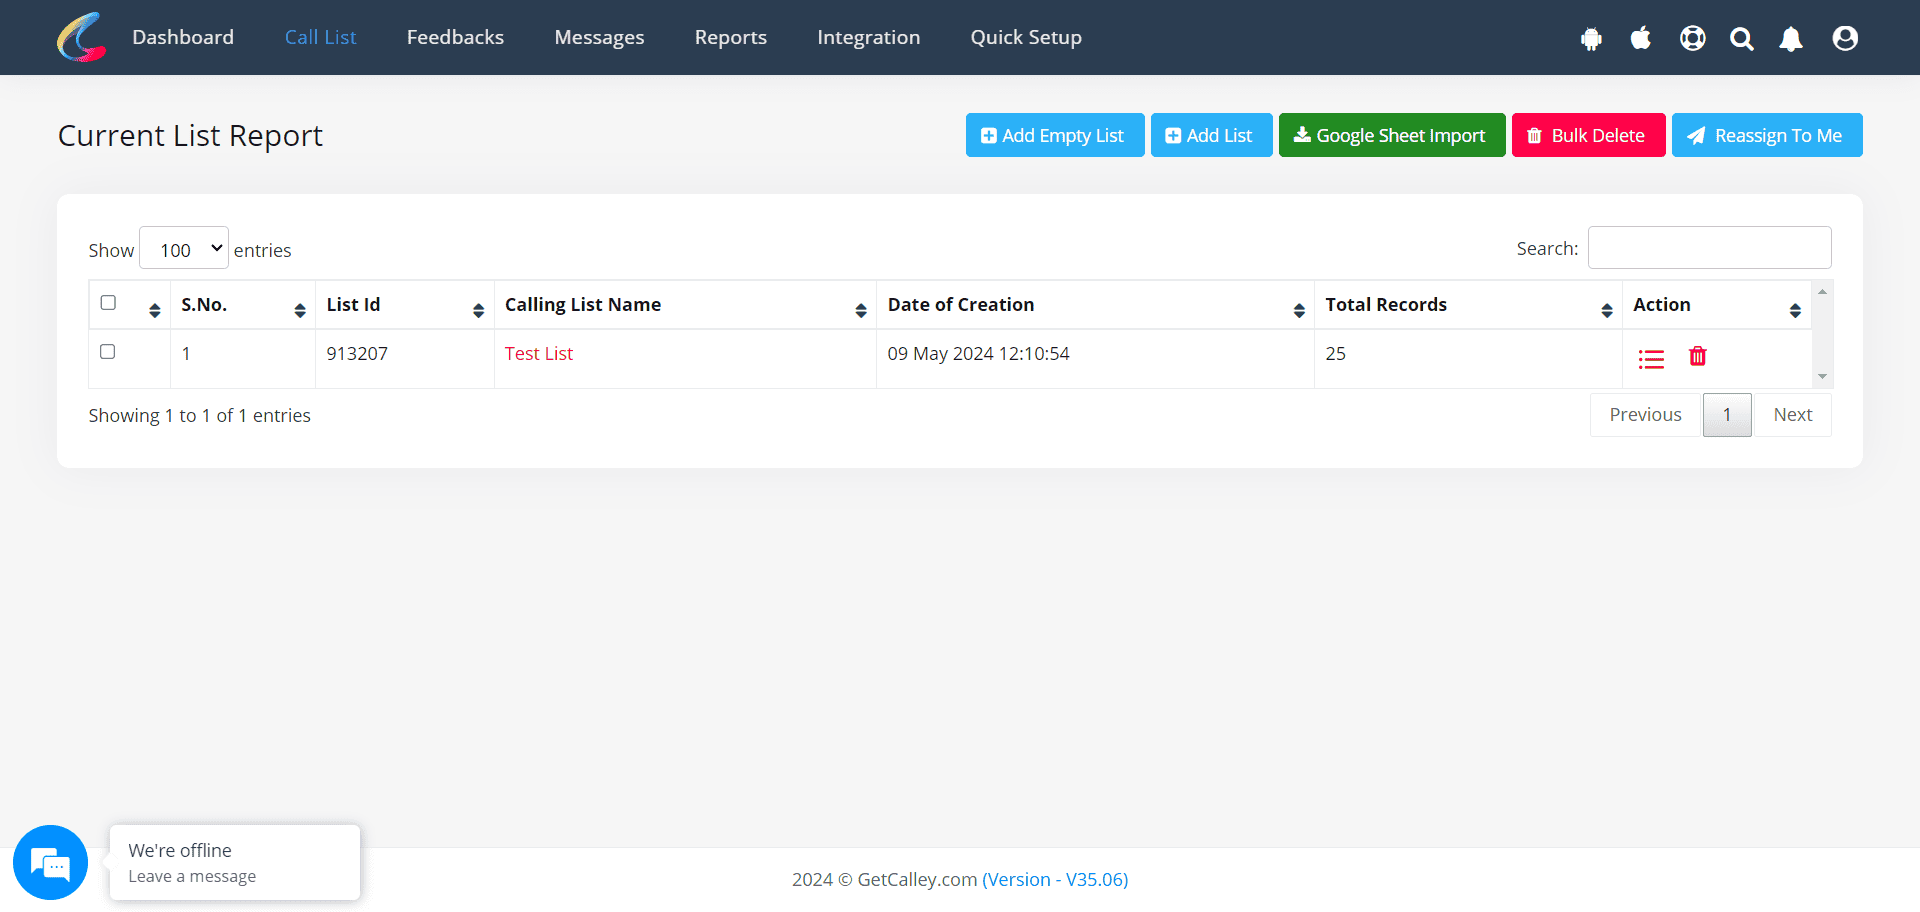
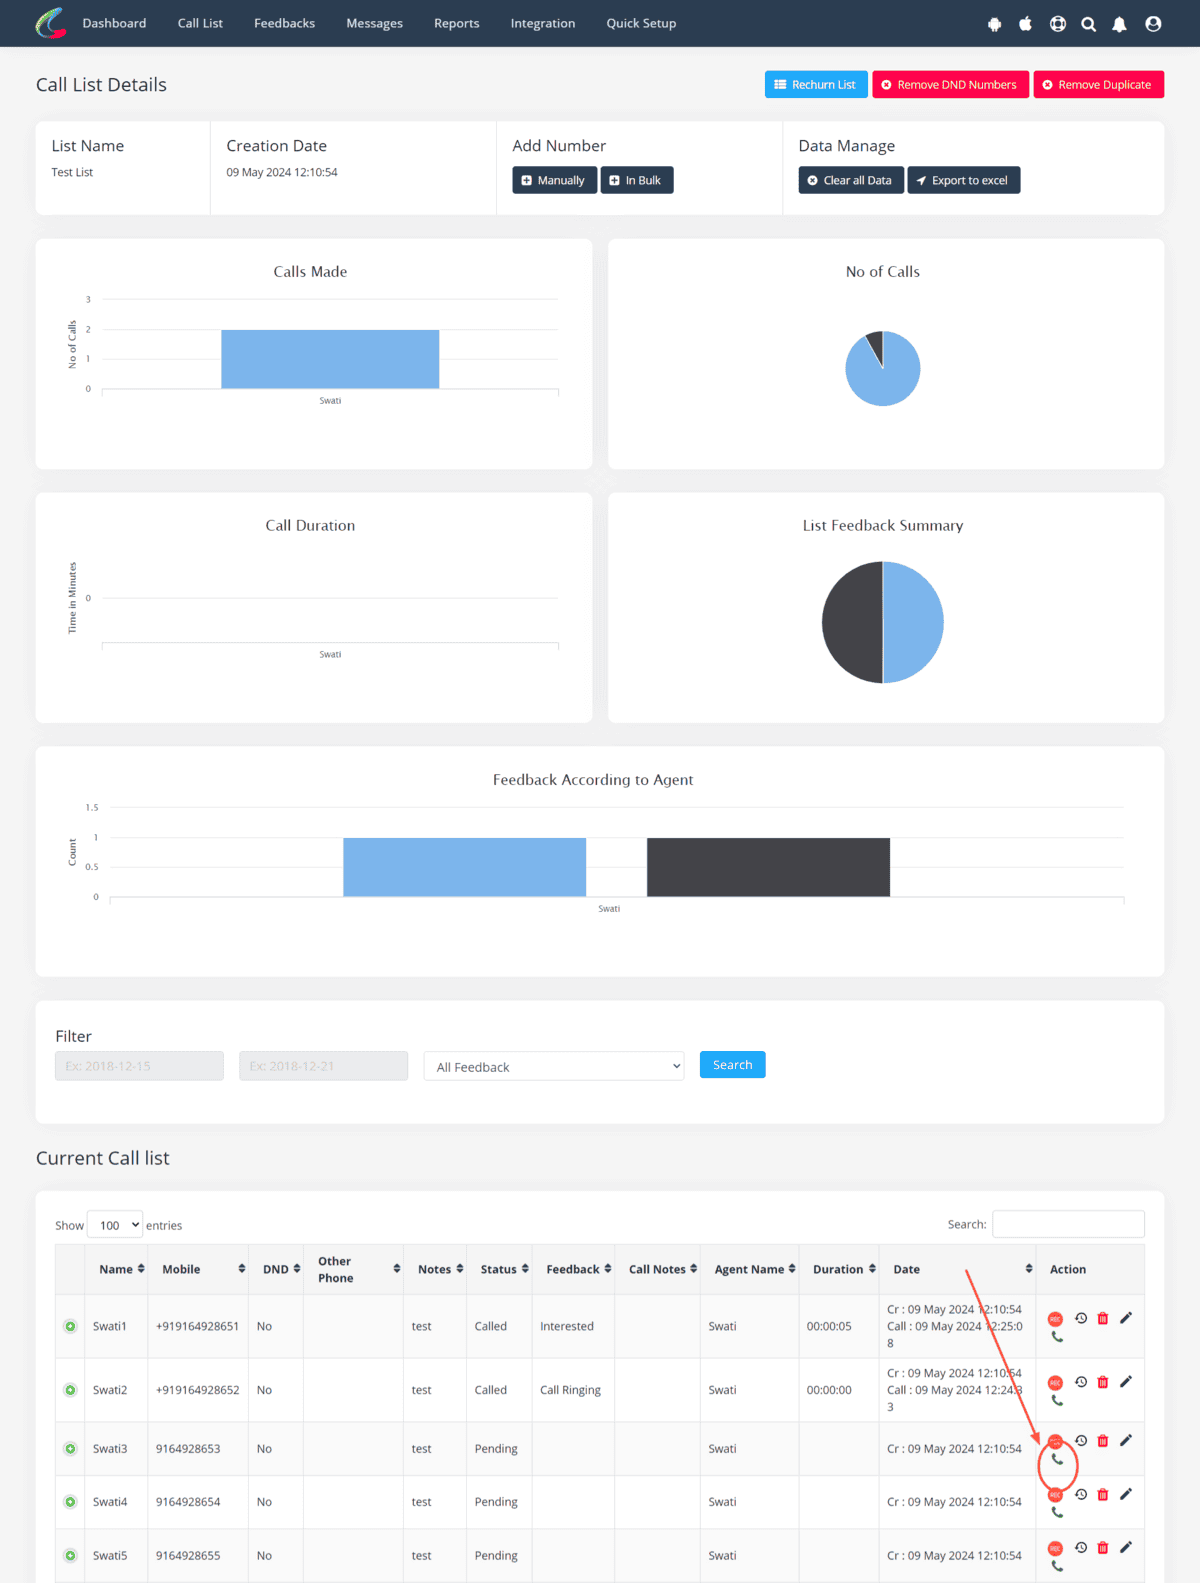
Start Calling Now
Click on the Green Phone Icon to start auto-dialing calls using Twilio VoIP.
In case the numbers in your calling list are missing the country code, you will be prompted to select or provide one prior to making the calls.
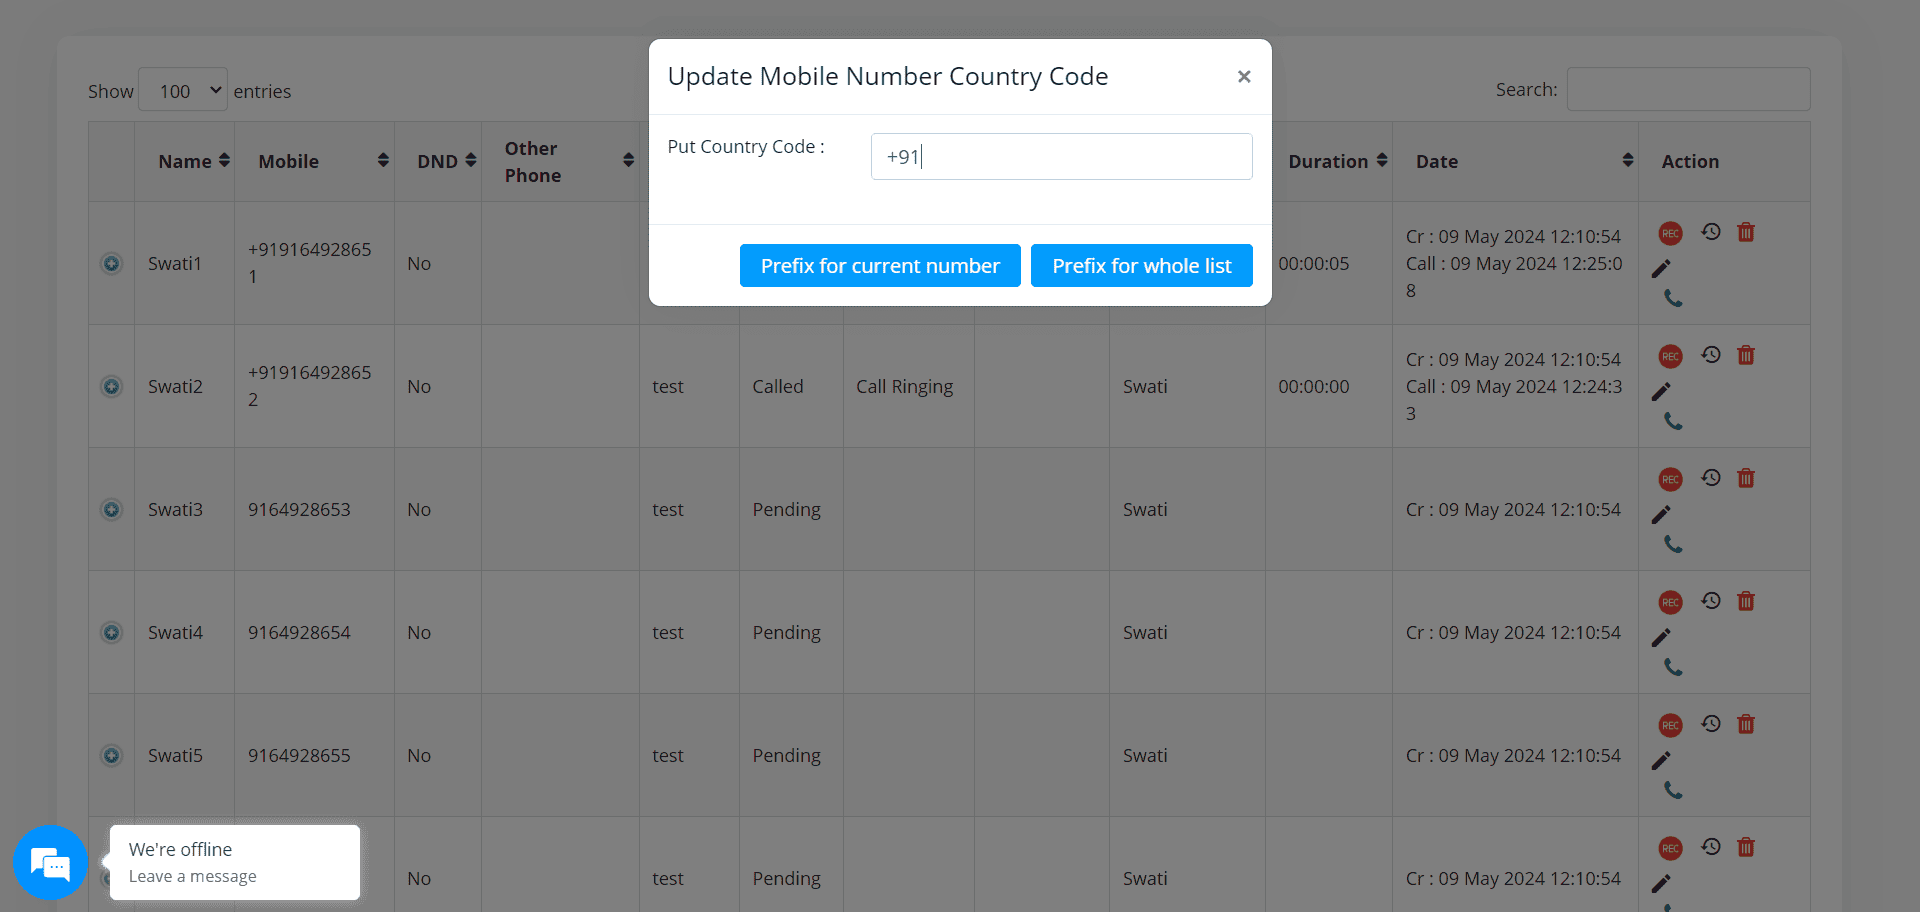
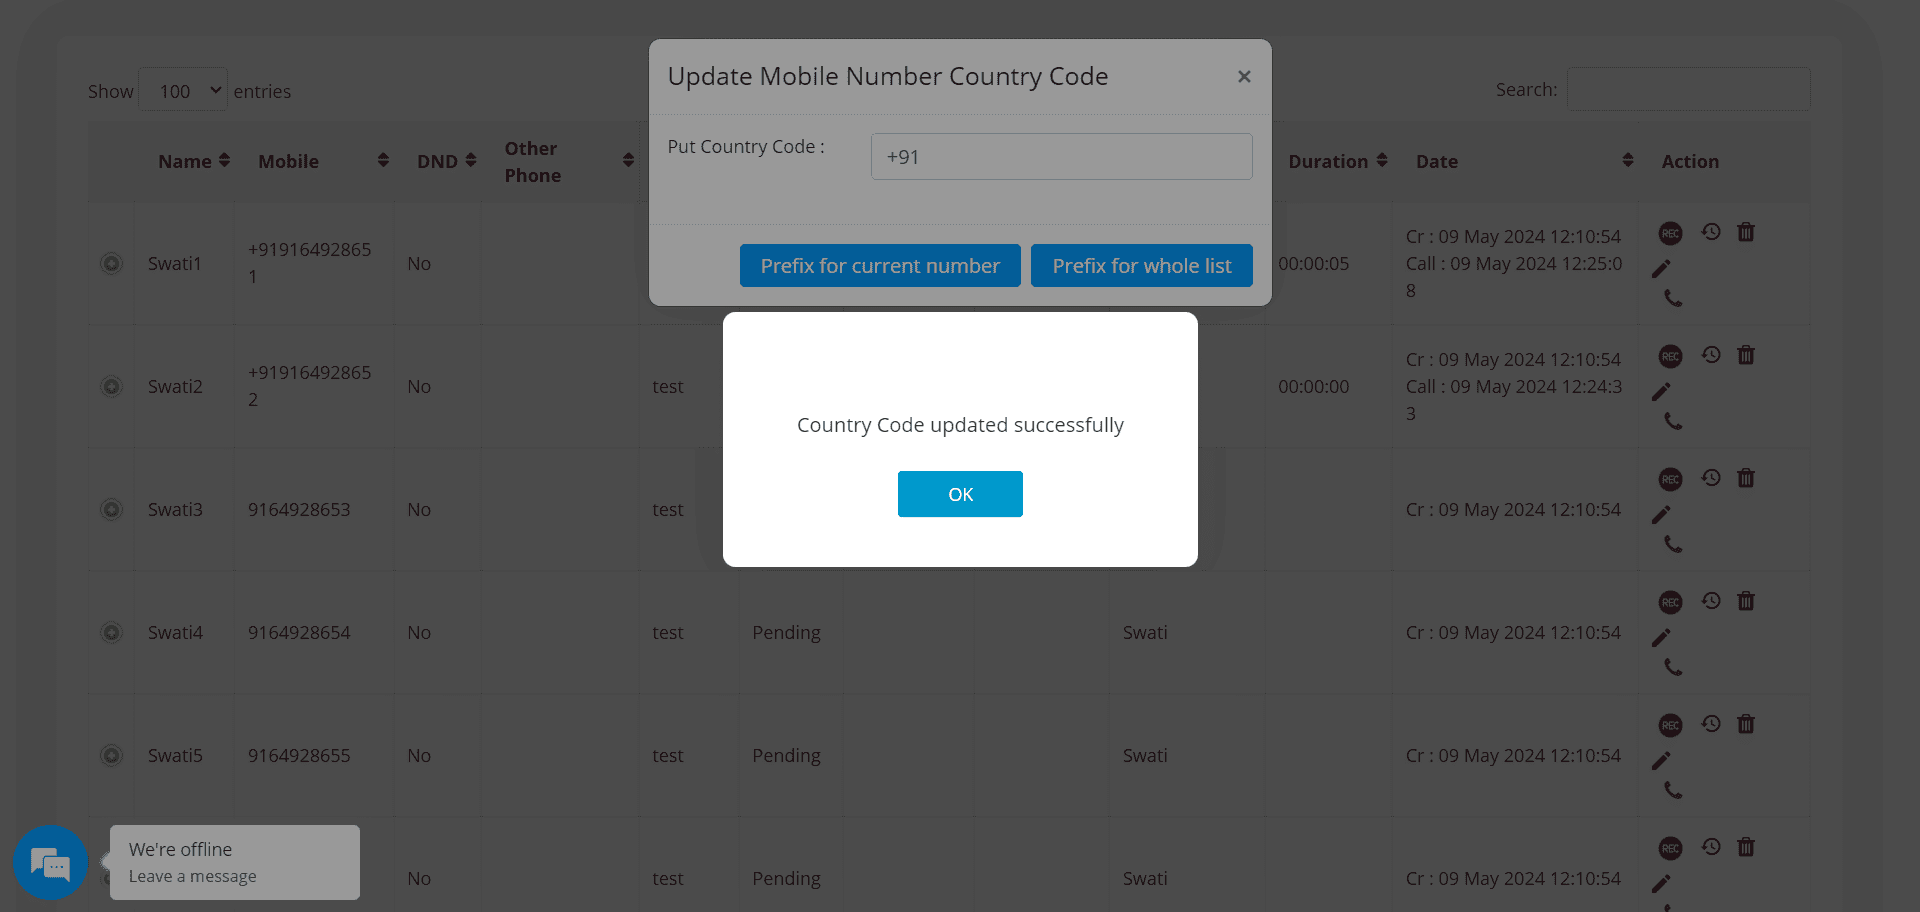
Start Autodialing using voip (twilio voip autodialer)
As the default country code is set, you are taken to the call detail page, where you can see the call being made to the lead and update its status. The duration of the call is shown on the upper part of the page, and the call can be hung up with the button there.
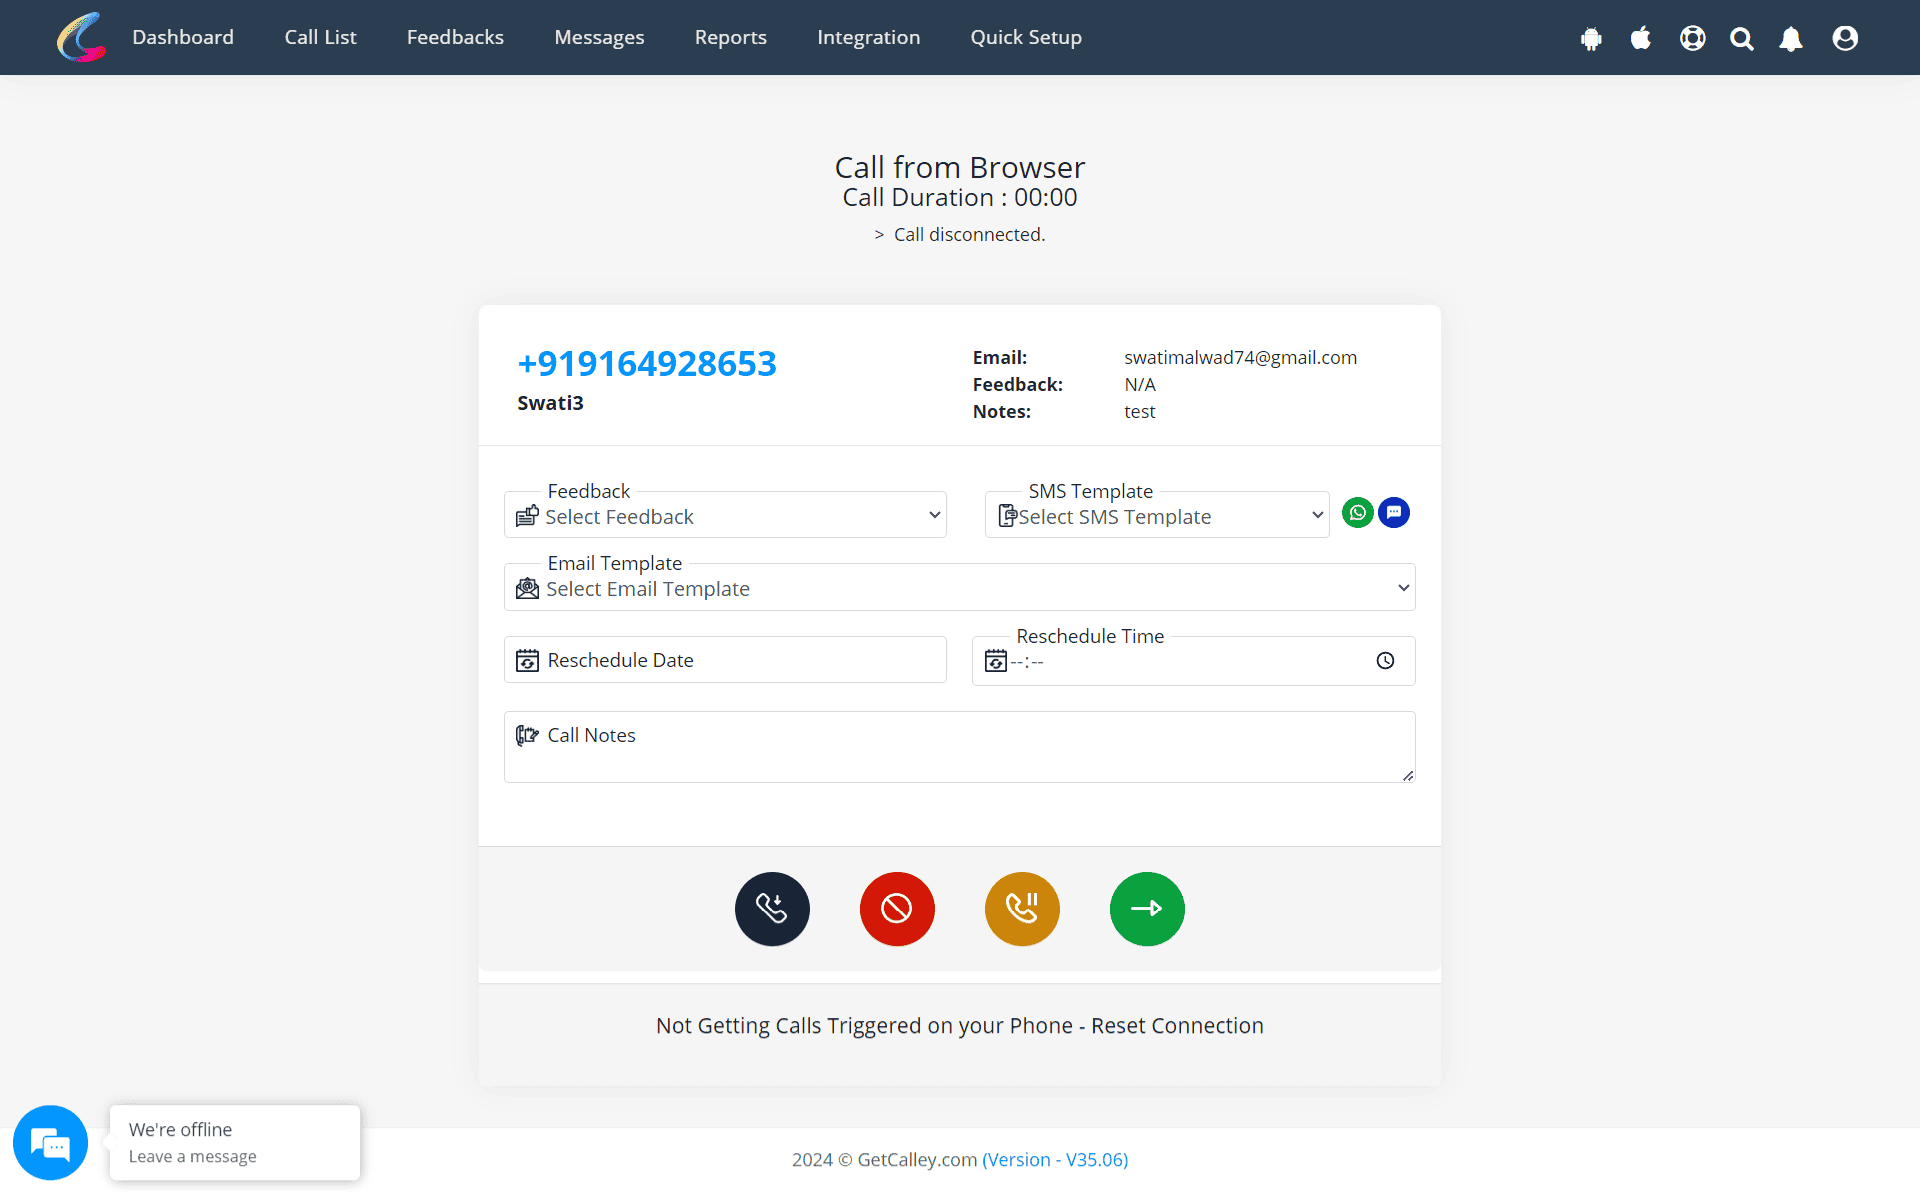
Actions todo at the End of a Call

Do more than just PC AutoDialing
Using Calley PC Dialing, you can not just autodial but take actions to create a deeper connection with your lead. Actions like -
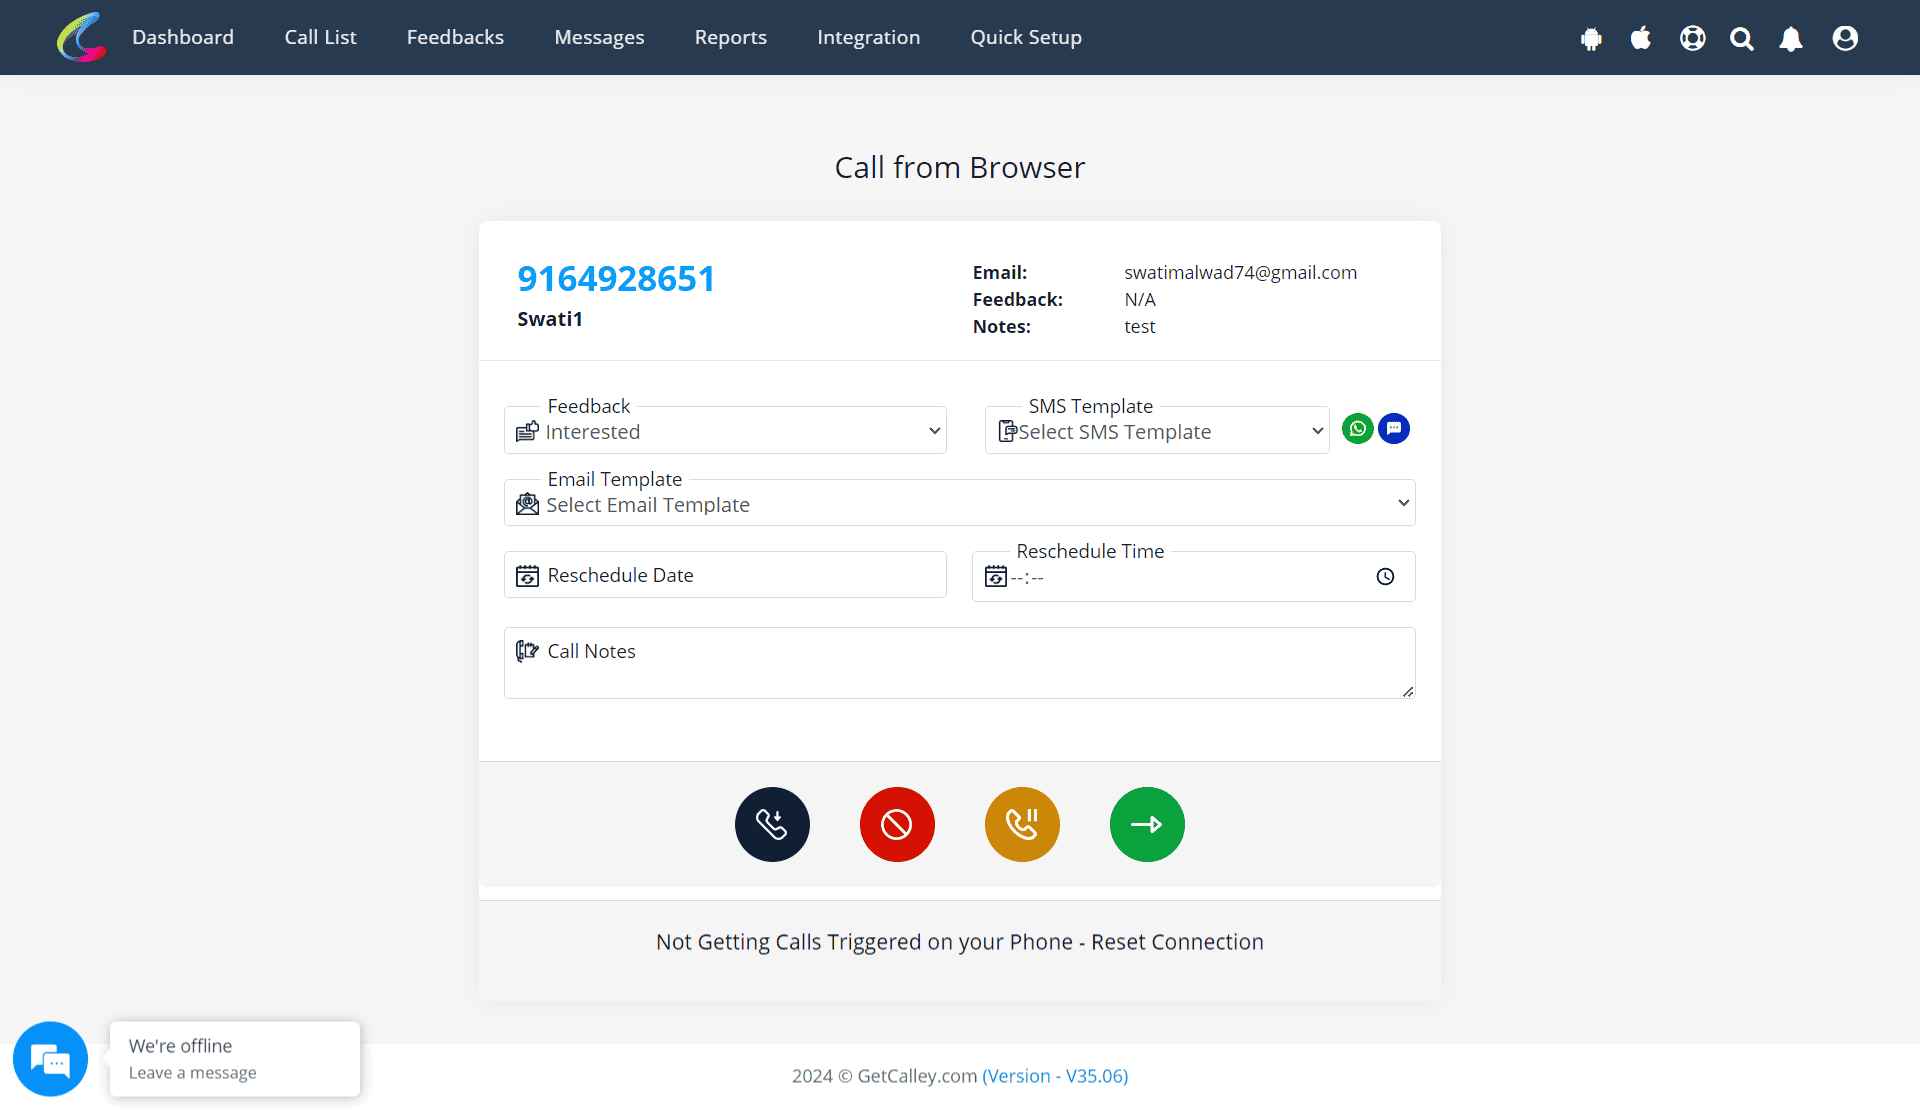
Once you are finished taking action on this call, you can save the data and commence the next call by clicking on the green icon.
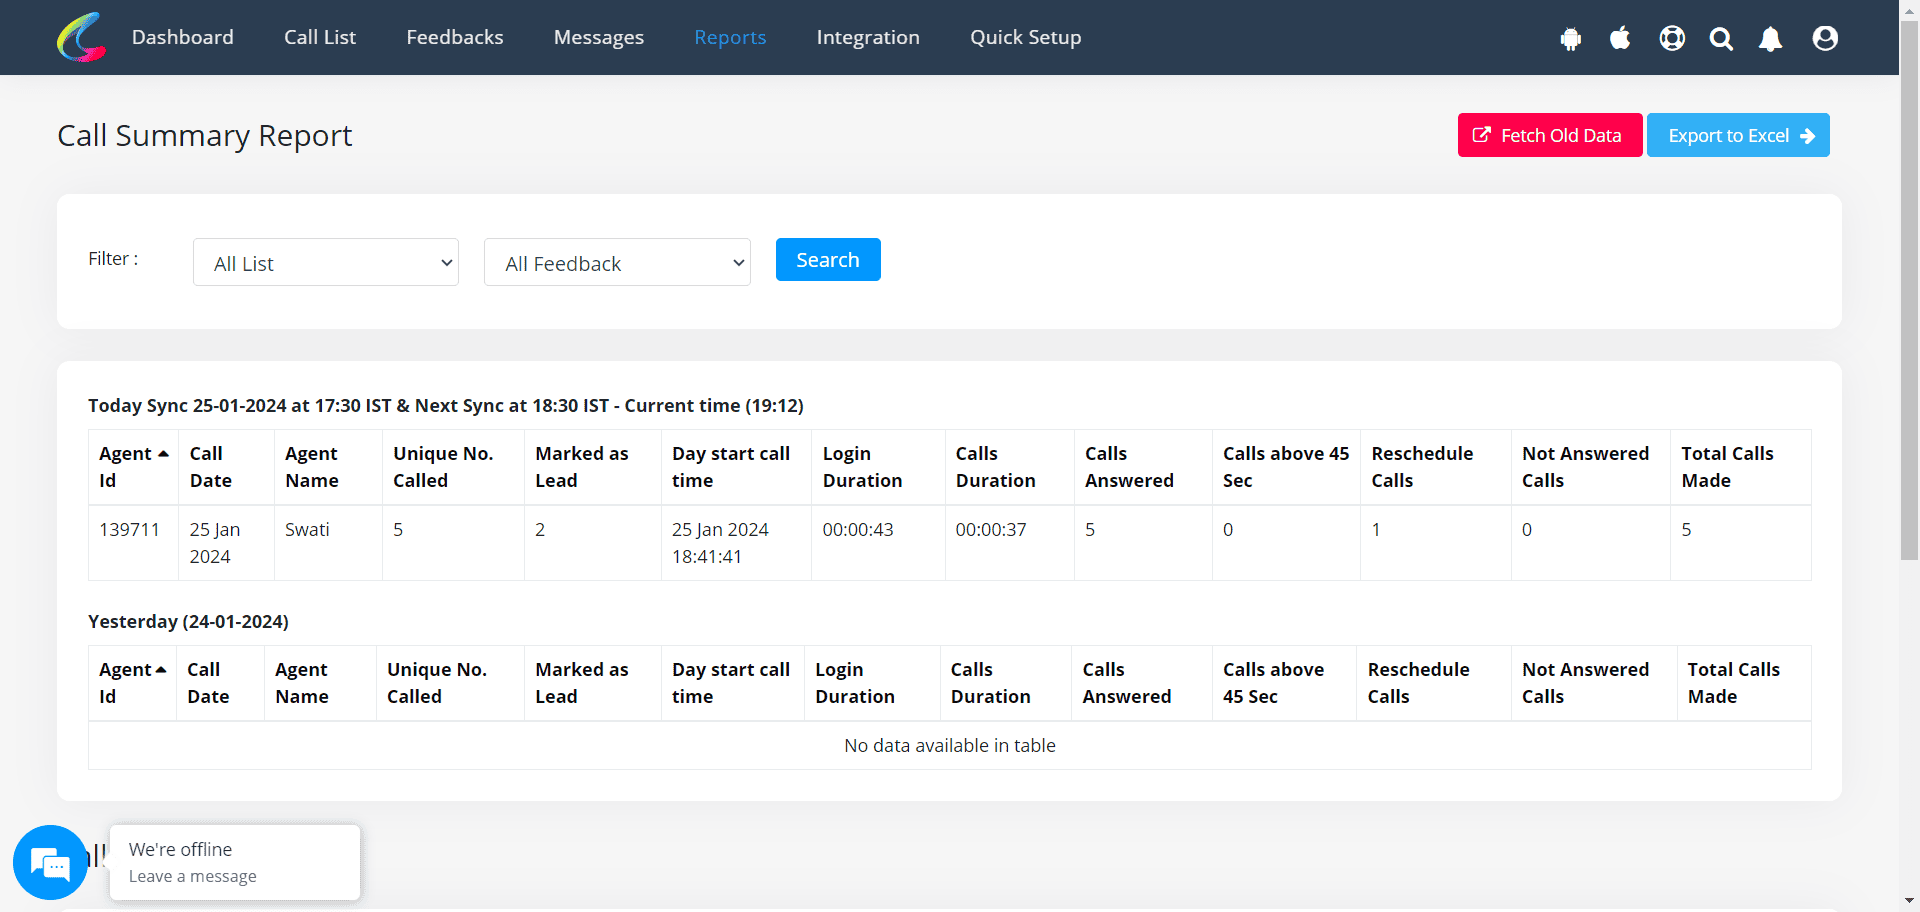
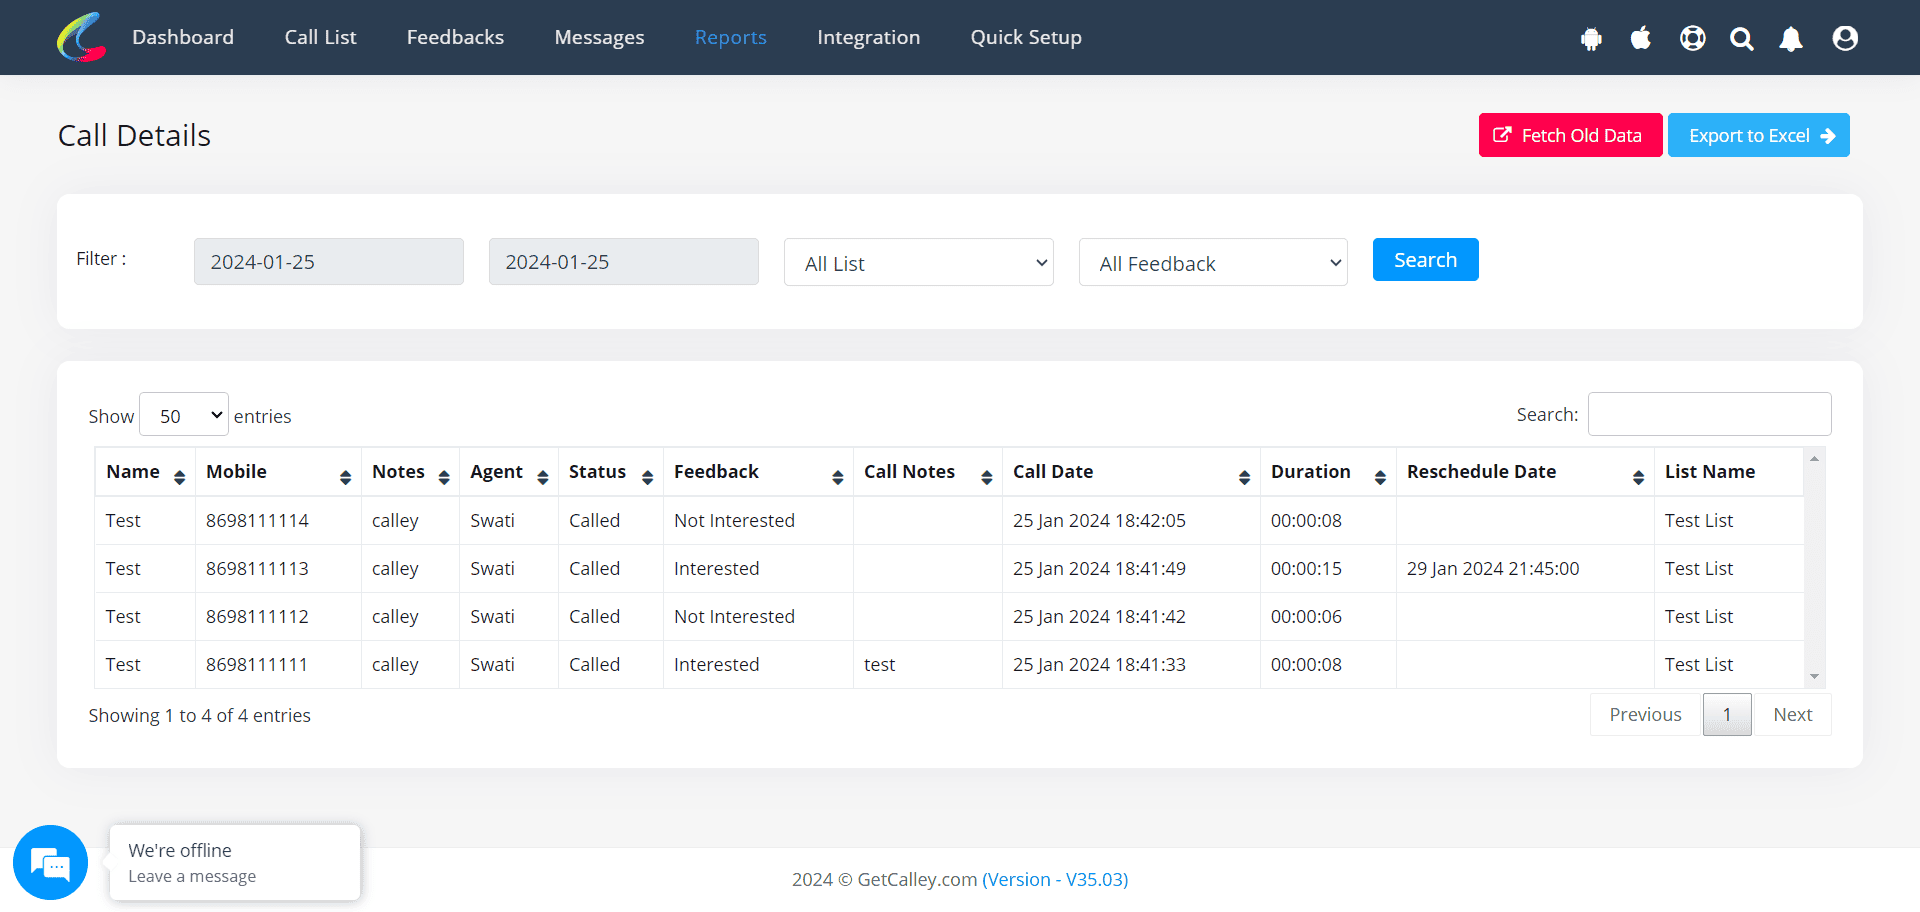
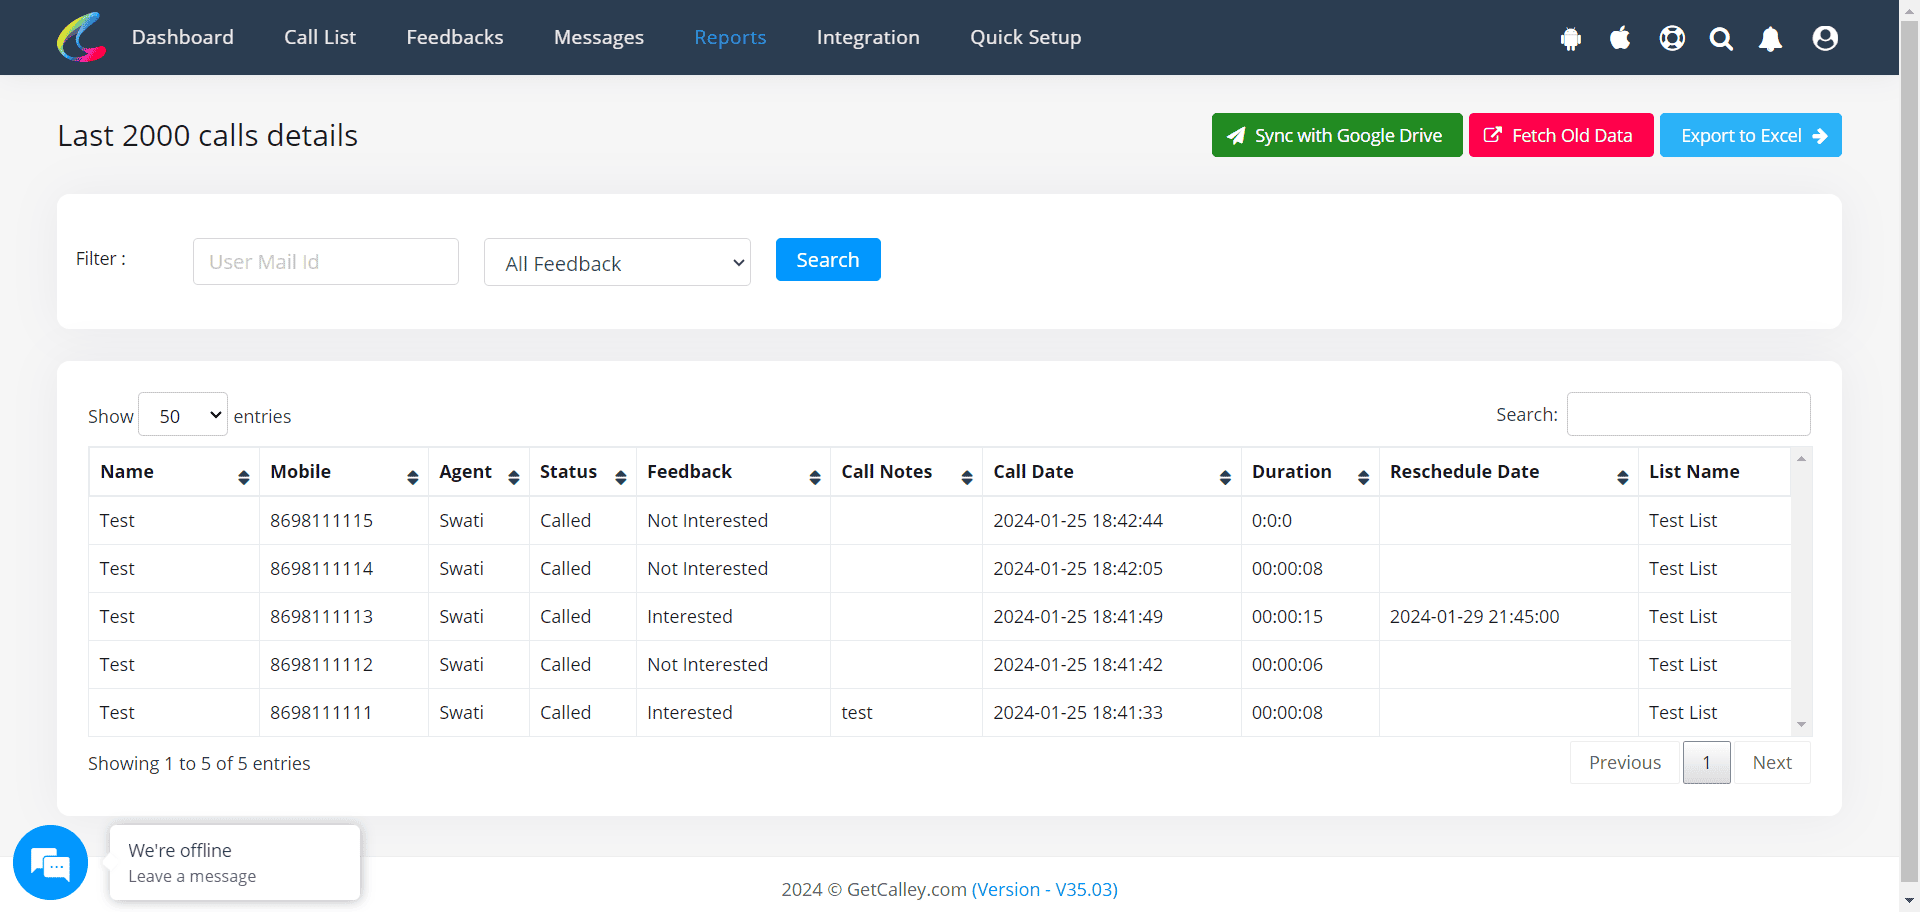
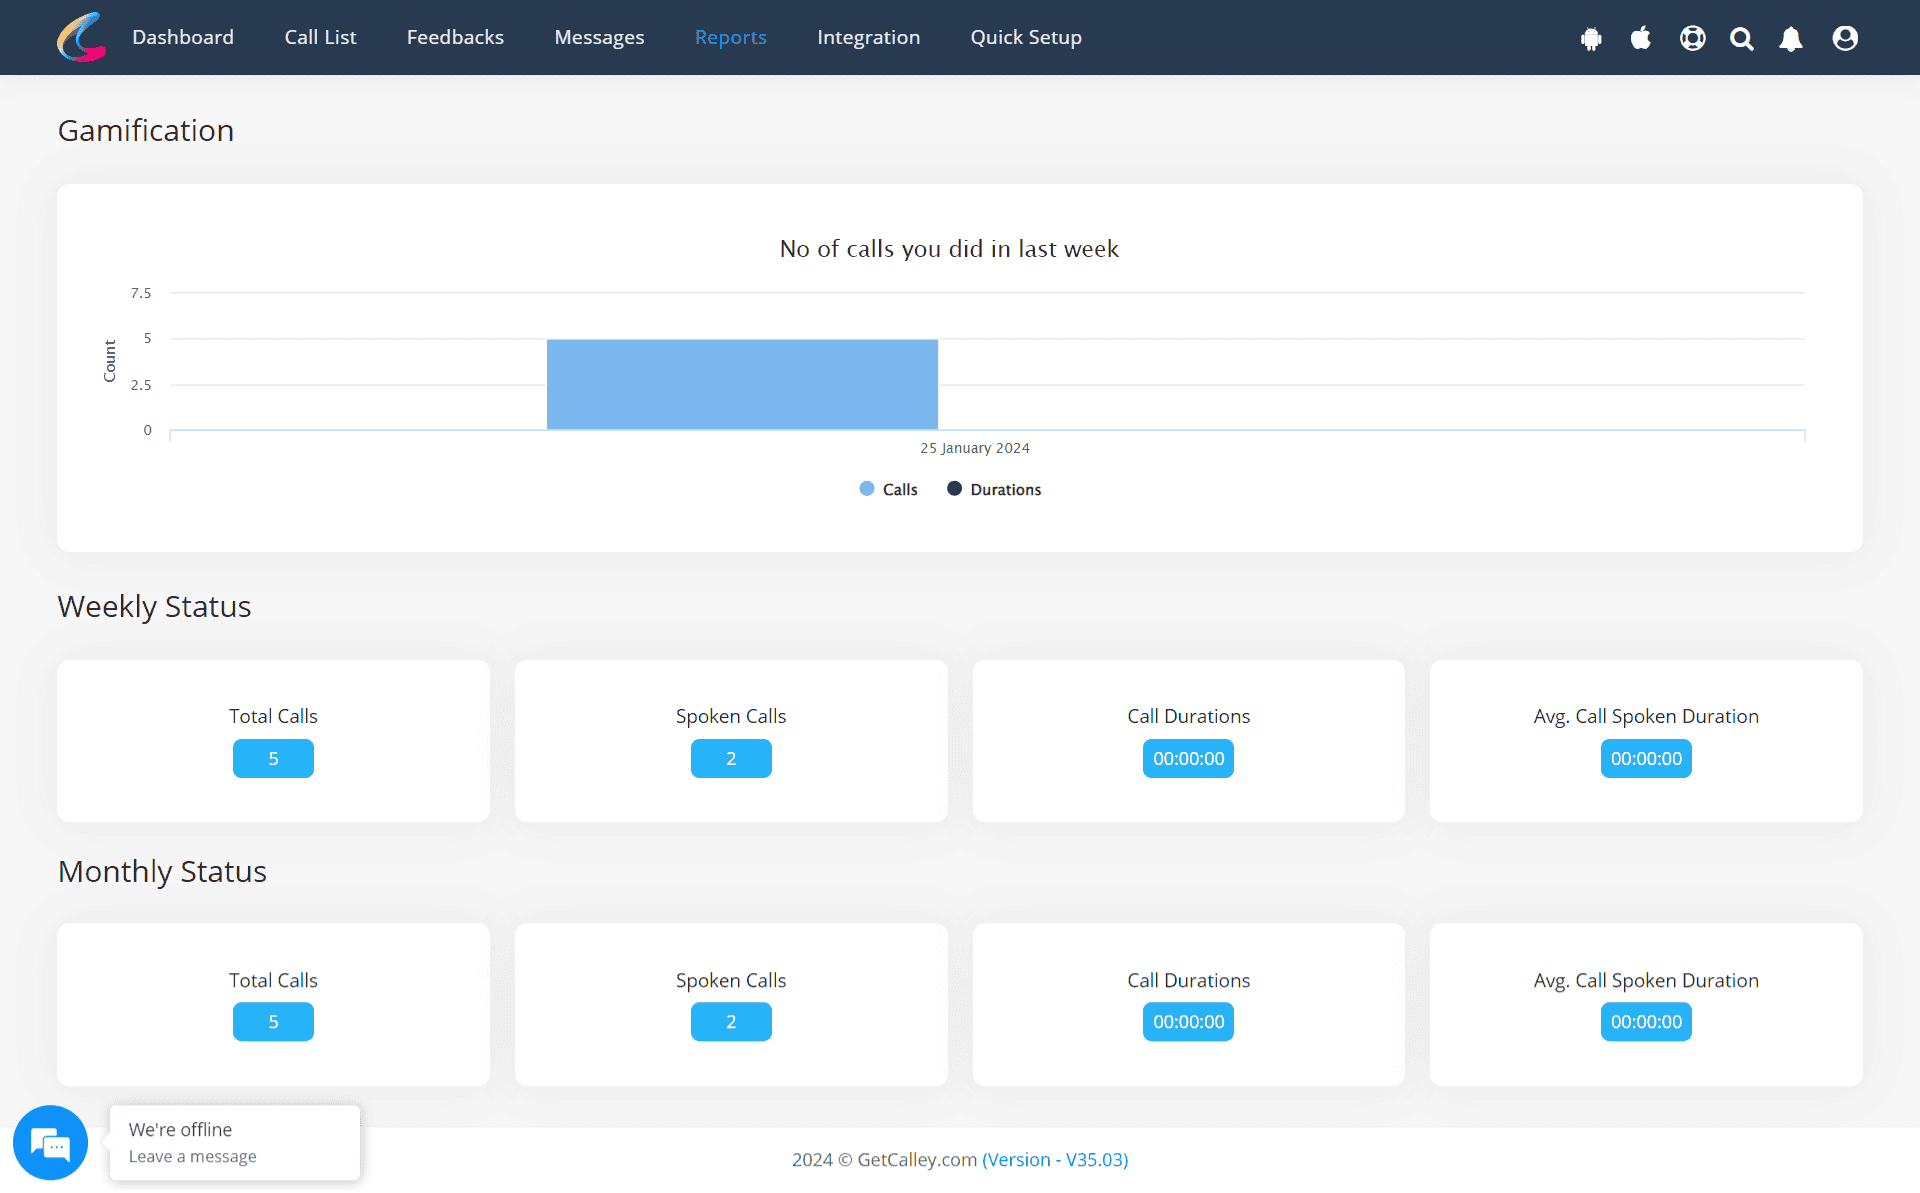
Understanding Reports in Calley Web Panel
As you call, the Calley Autodialer is also collating data to present you with reports at the end of the campaign.
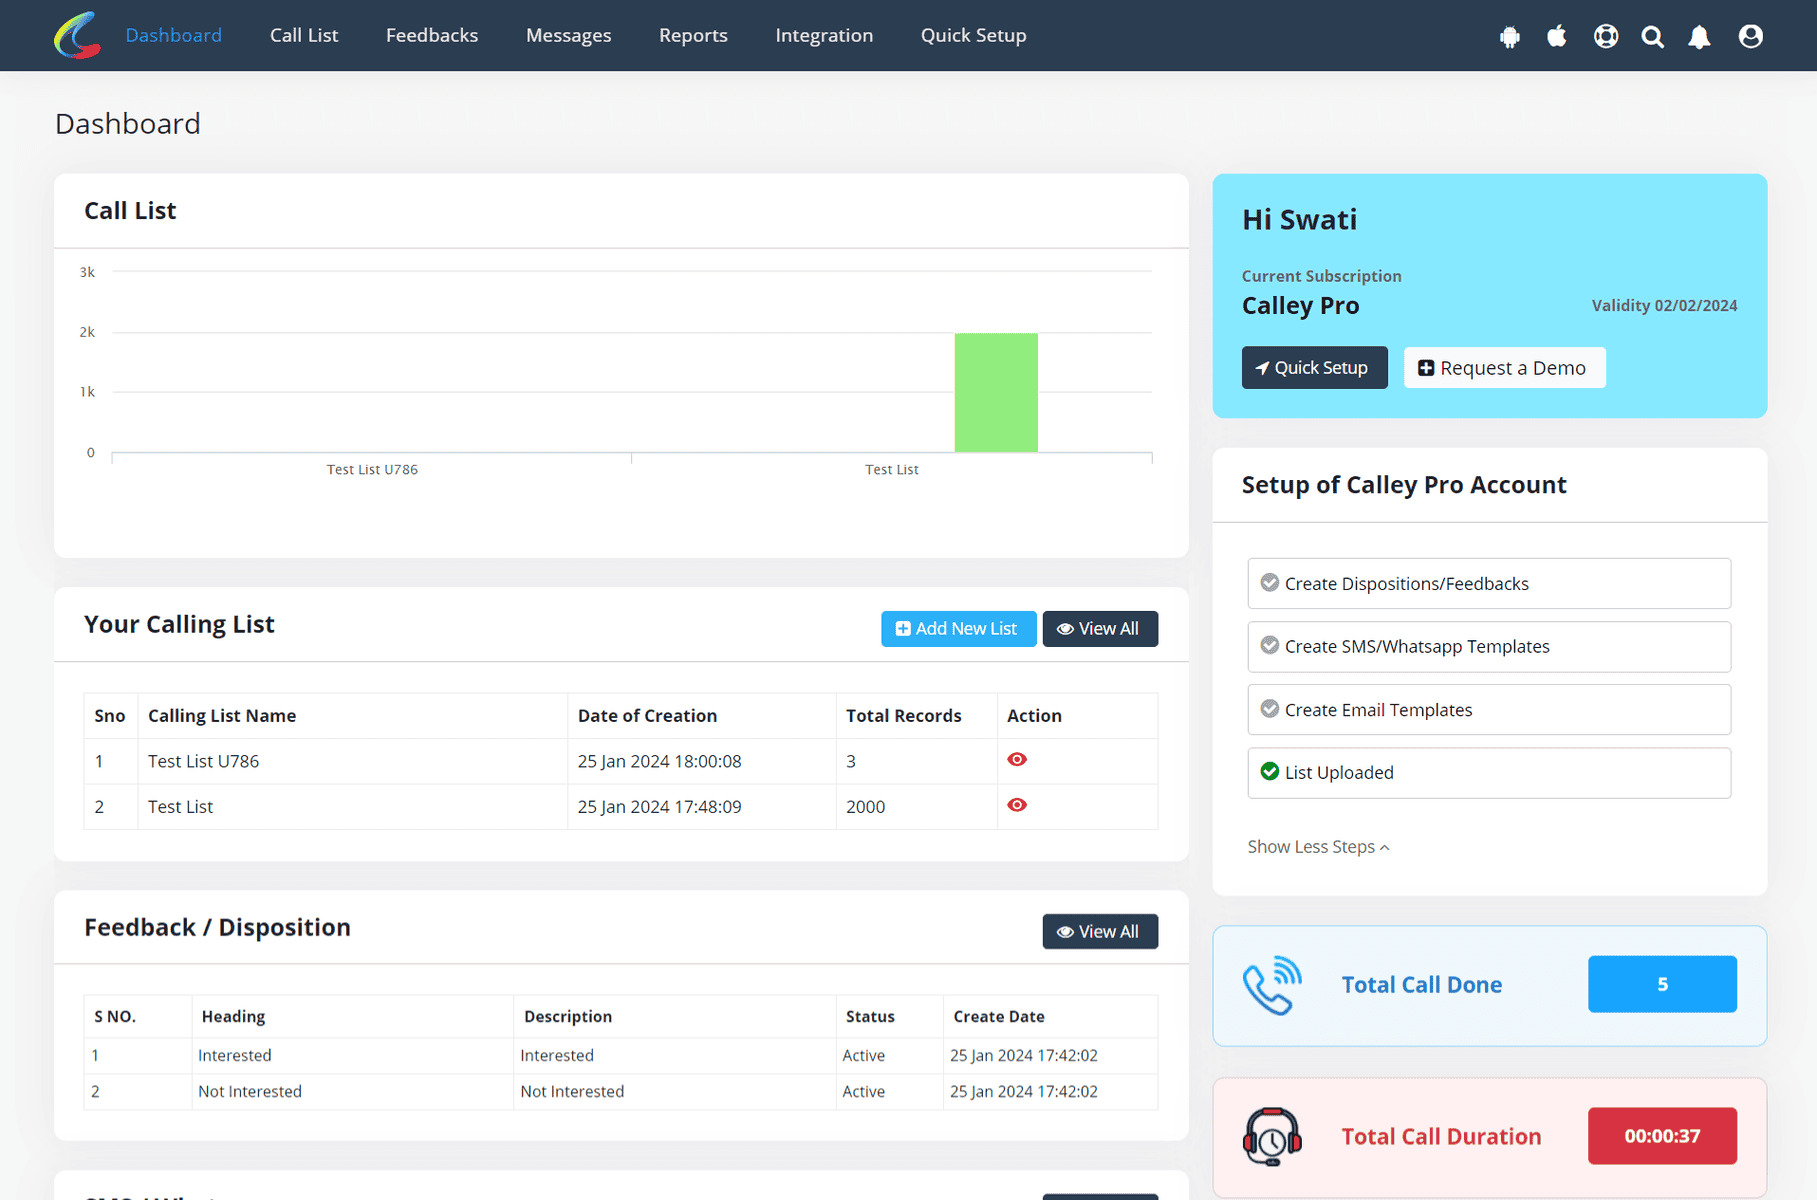
Start PC-based Auto dialing to International numbers using Twilio VOIP & Calley Auto Dialer.
Using this integration, you can start empowering your Virtual Assistants or your own local team to dial into international leads and increase your global outreach.
Start VoIP Autodialing using Calley VoIP Software coupled with Twilio API's
Checkout here > Pricing Plans for Calley Auto Dialer App
Link to > Full Feature List of Calley AutoDialer
Do you want to Subscribe to a Free Auto Dialer with a limit of 25 calls per day?
WE KNOW YOU WILL HAVE QUESTIONS.
We would love to answer all your questions to get you started with Autodialing using The Calley Auto Dialer app.
